How To Draw Thor Step By Step
How to Draw Thor
May 24, 2021
Learn how to draw Thor easy enough for beginners, start a sketch with this tutorial. Step by step drawing thunder god for beginners!
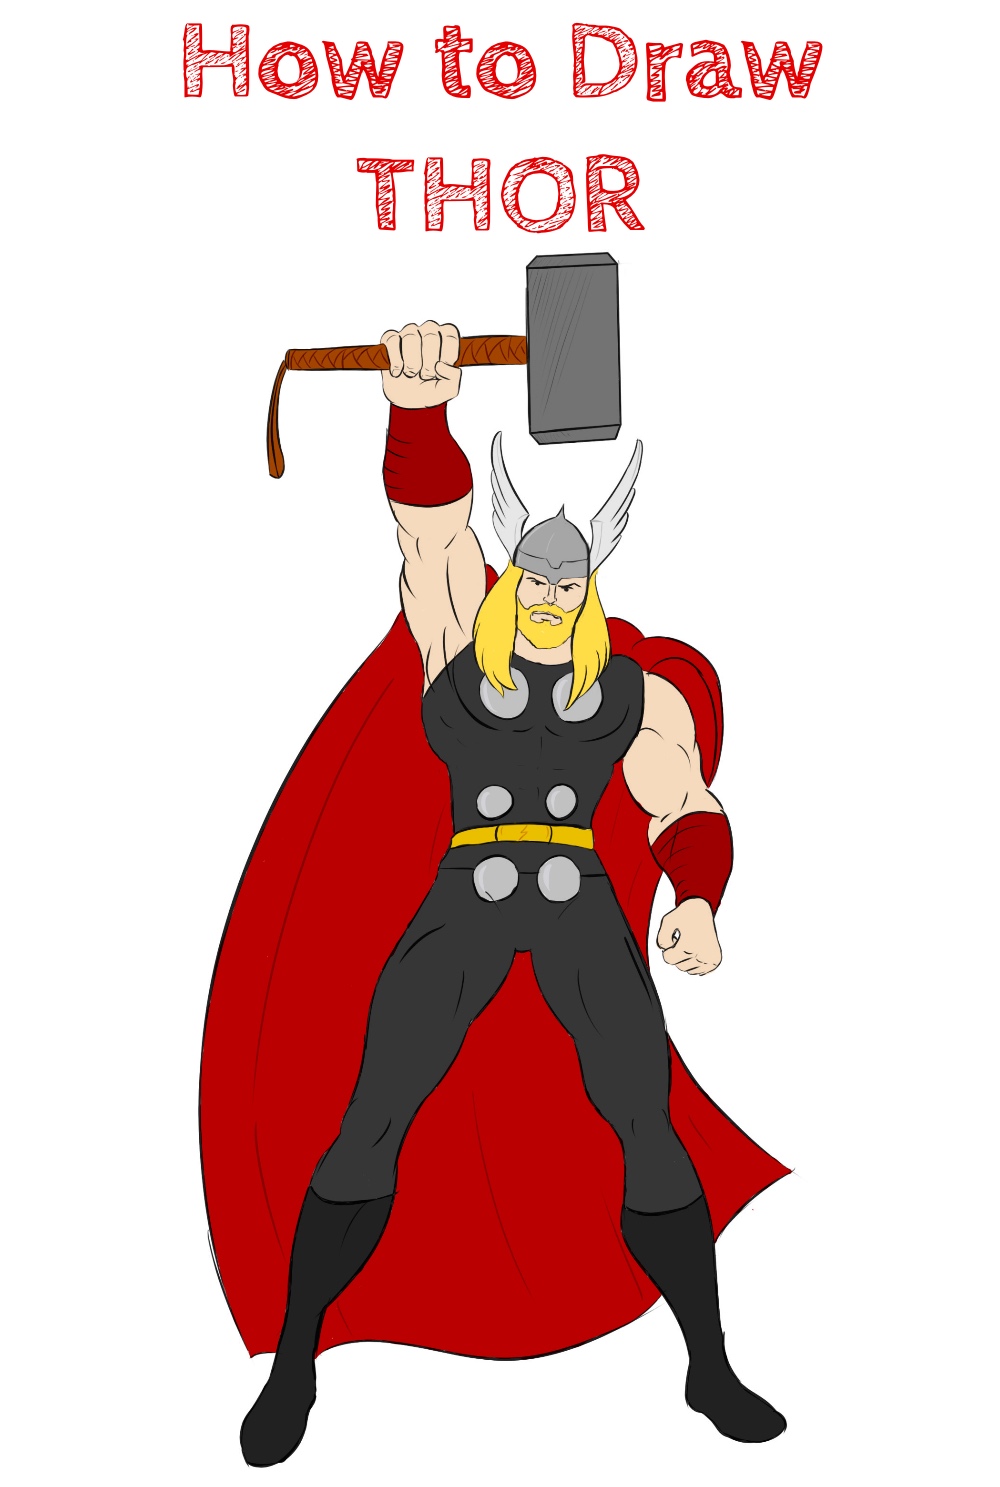
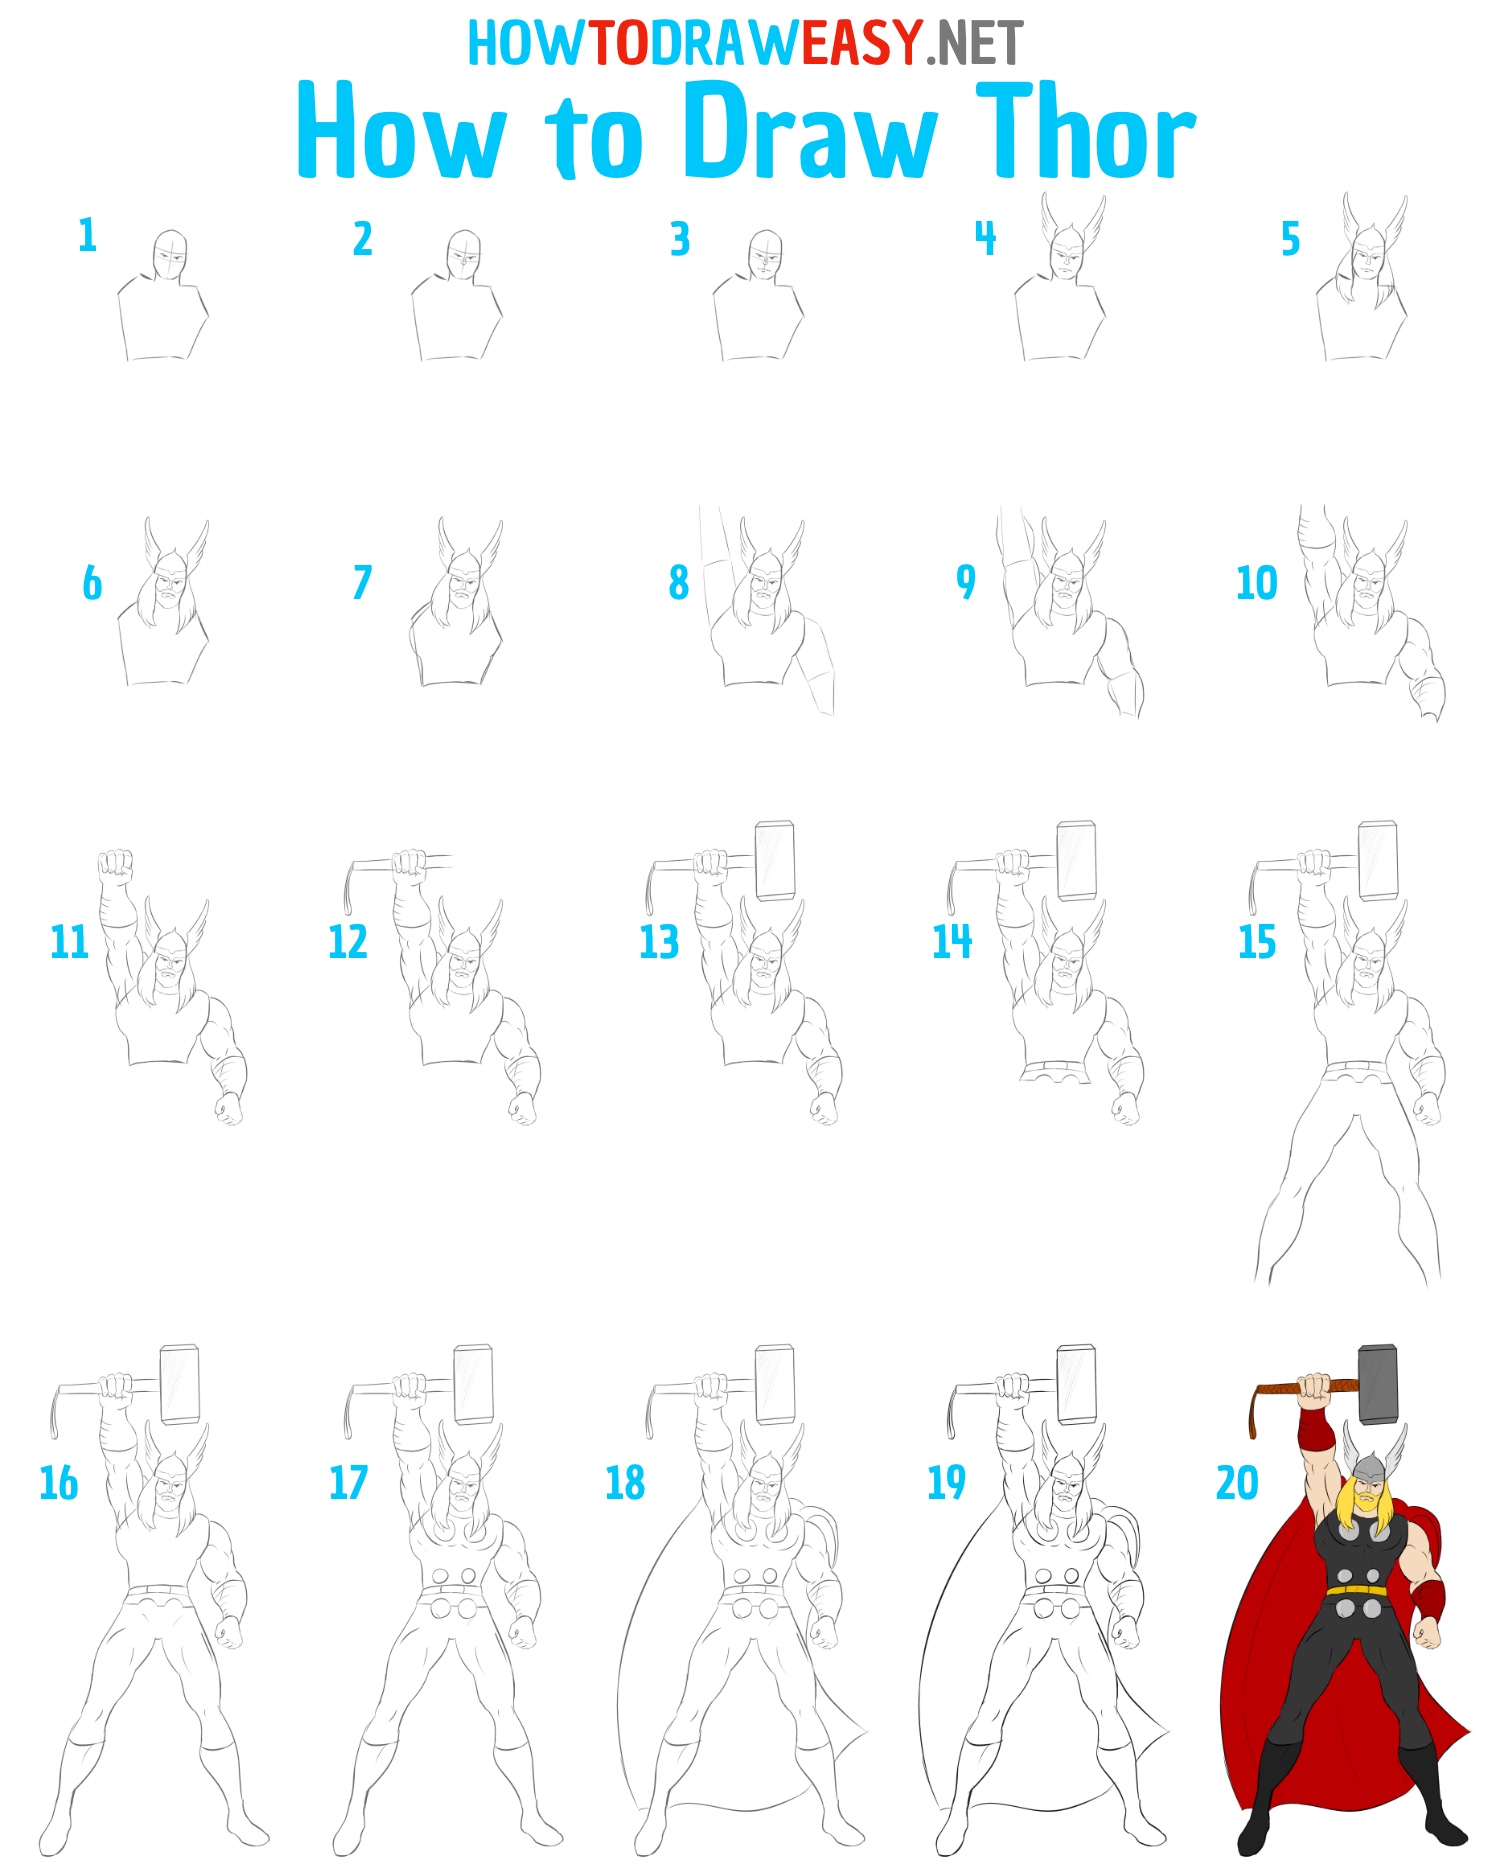
In this drawing guide, you will learn how to draw Thor. Thor is a popular character from the Marvel comics universe, as well as an important character in the Avengers team in both movies and comics. The main features of this character are that he has the superpower of God, the ability to summon streams of lightning, control of the magic hammer of Mjölnir, and so on. In terms of strength, Thor is one of the most powerful characters in the Avengers team, and only the Hulk can be stronger than Thor, but this is not a fact, because Thor is always in this state, and the Hulk transforms from an ordinary person into a strong green monster. Friends, which of these characters is stronger in your opinion? Write your opinion in the comments below this step-by-step tutorial, it will be very interesting for us to see the opinion of the readers on this matter!
In addition to Thor, you can try drawing other comic book characters, which are available on our site in the form of step-by-step tutorials!
Time needed:1 hour.
How to Draw Thor
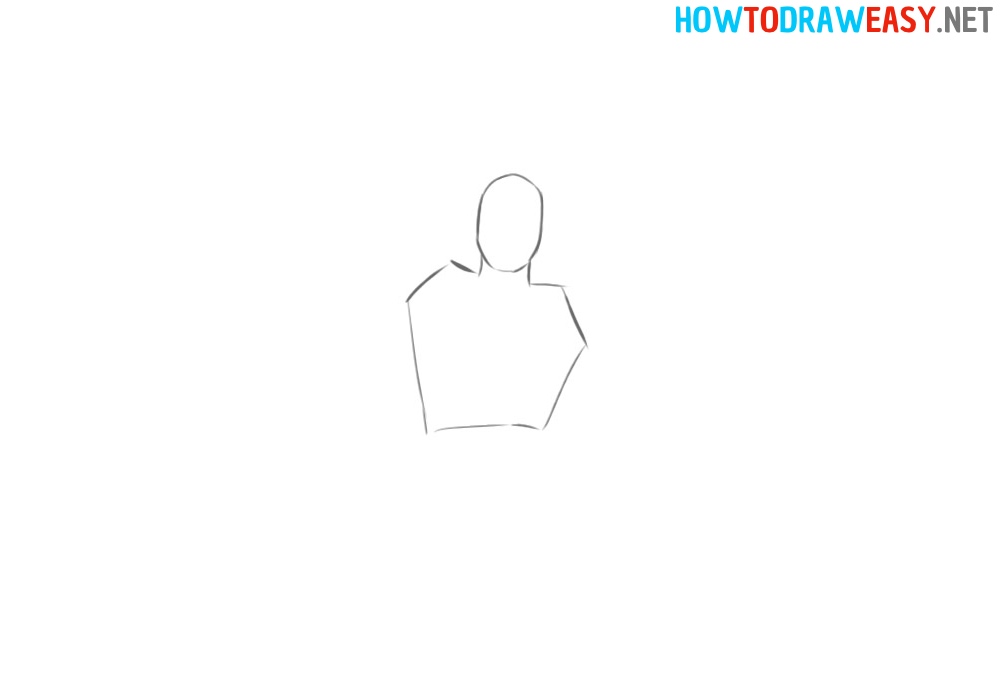
- Head & torso outlines.
First, draw out the outlines of the character's head and torso.
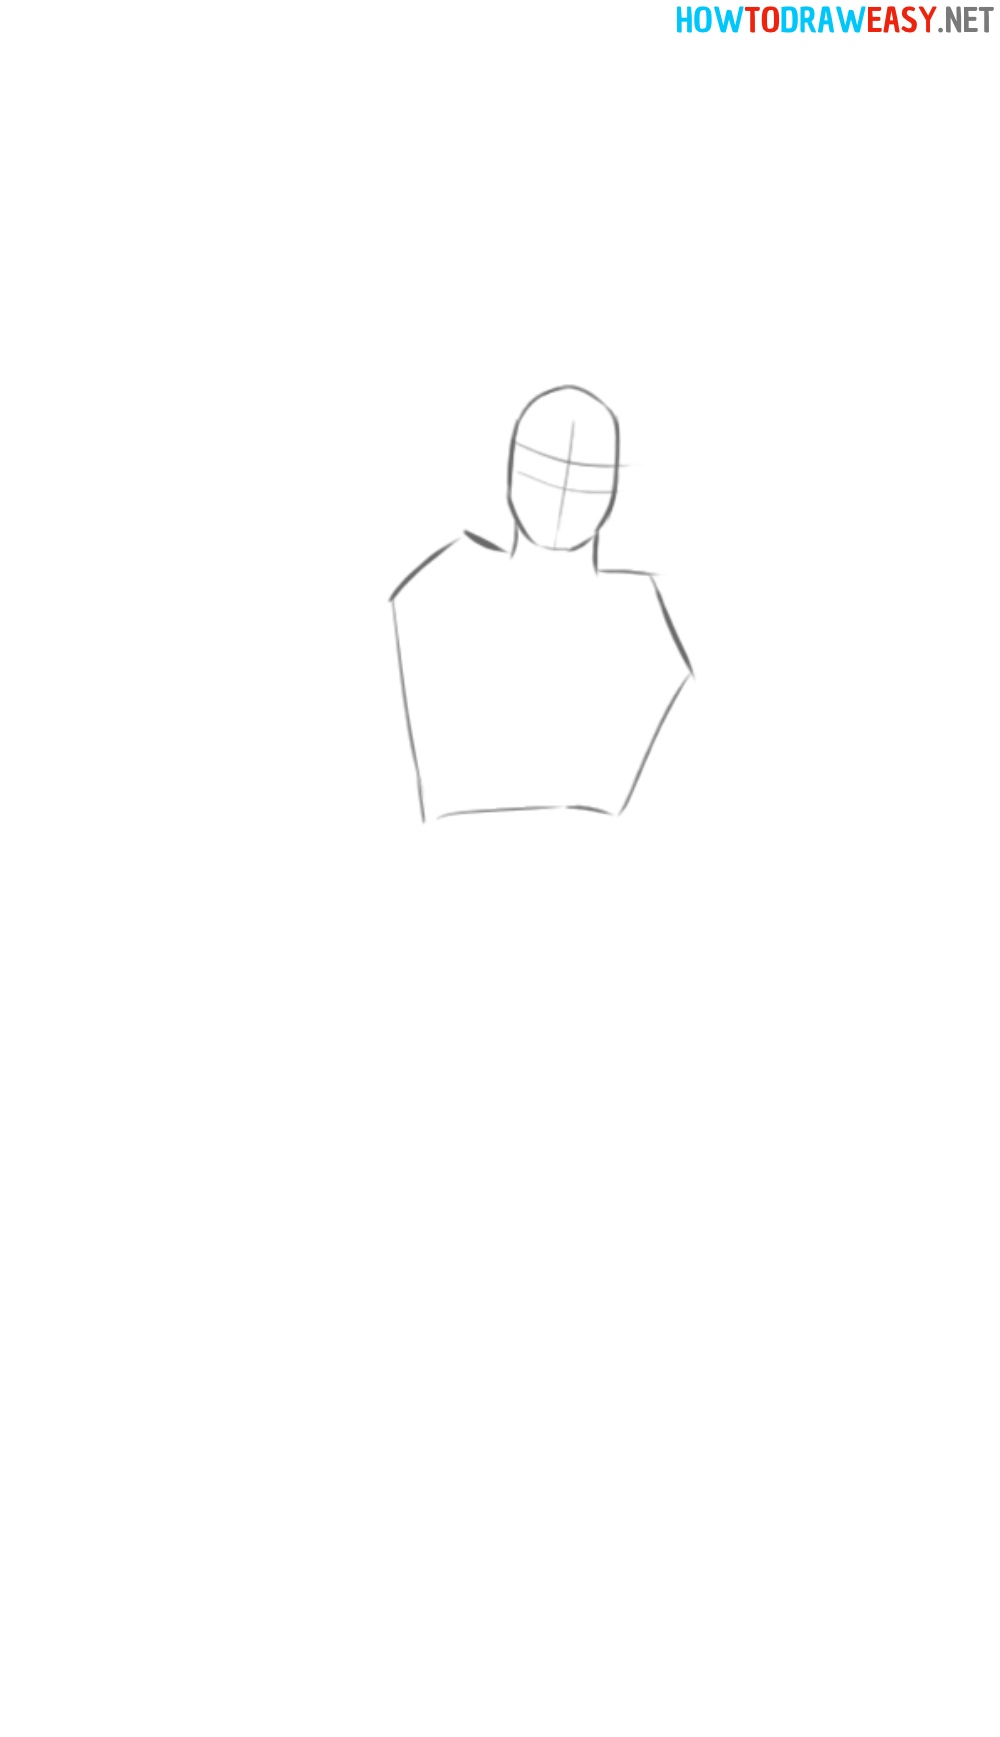
- Guiding lines.
On the face, sketch horizontally and vertical guidelines for drawing parts of Thor's face.
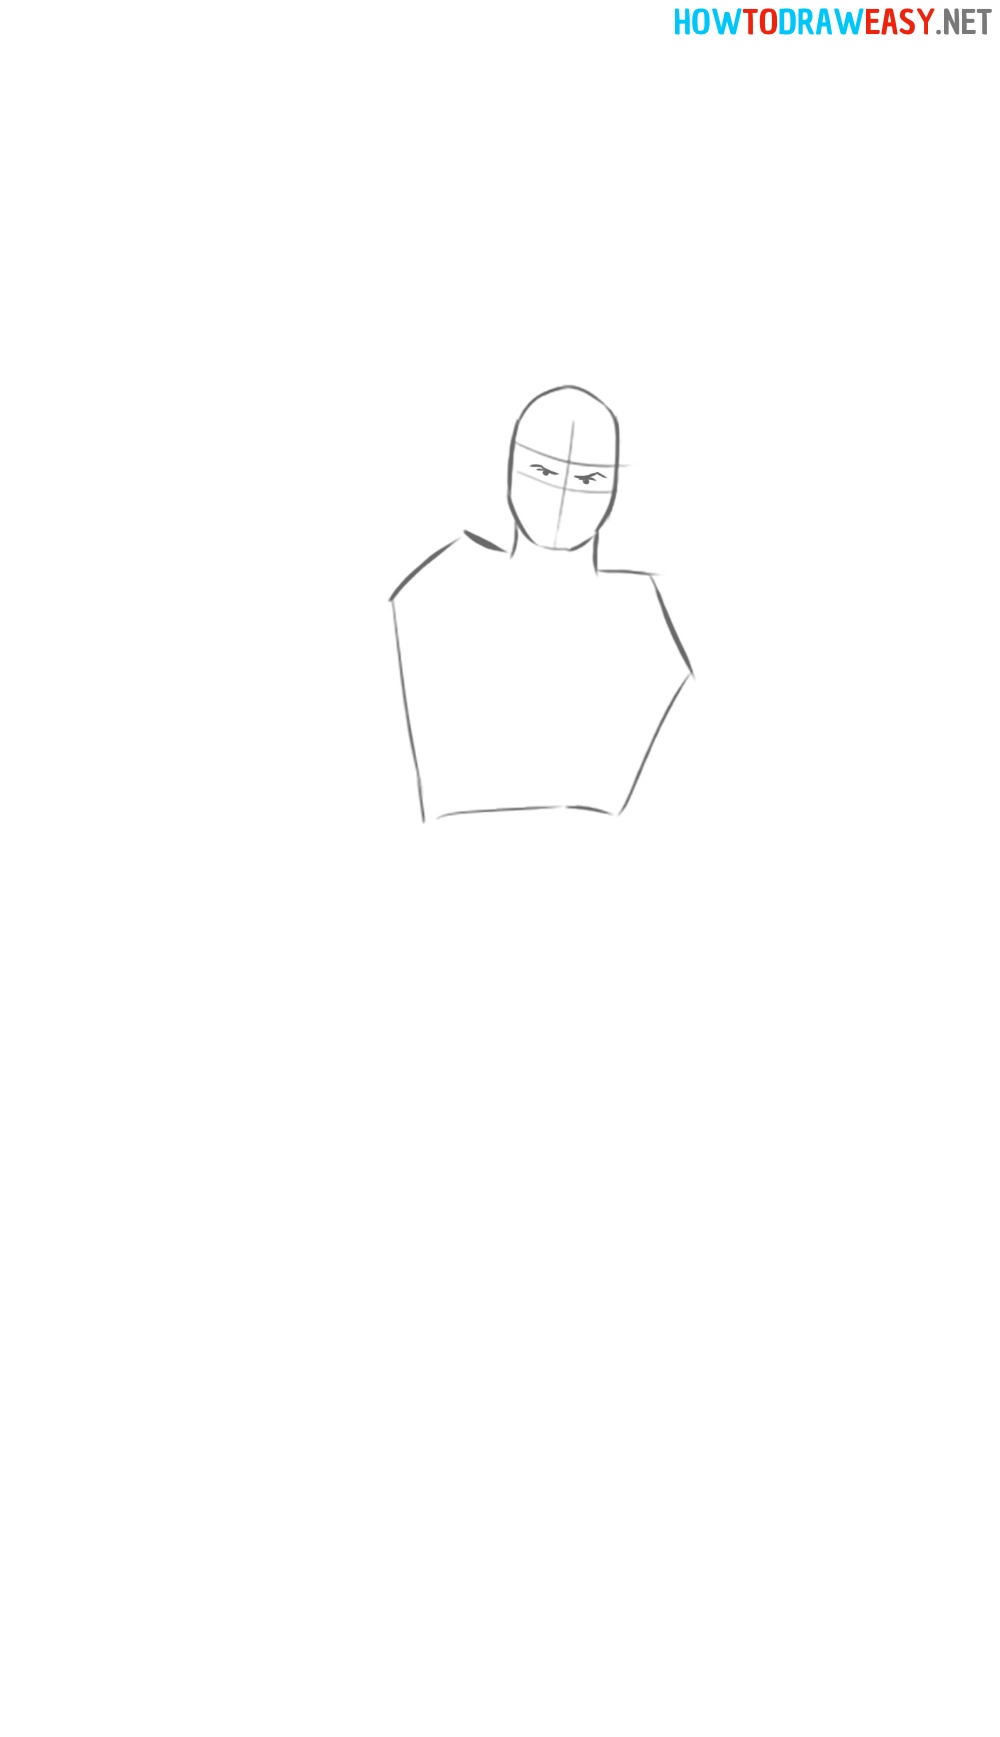
- Eyes and eyebrows.
In a simple style, sketch out Thor's eyes and eyebrows. You can also see a similarly easy style of drawing eyes in the Superman drawing lesson.
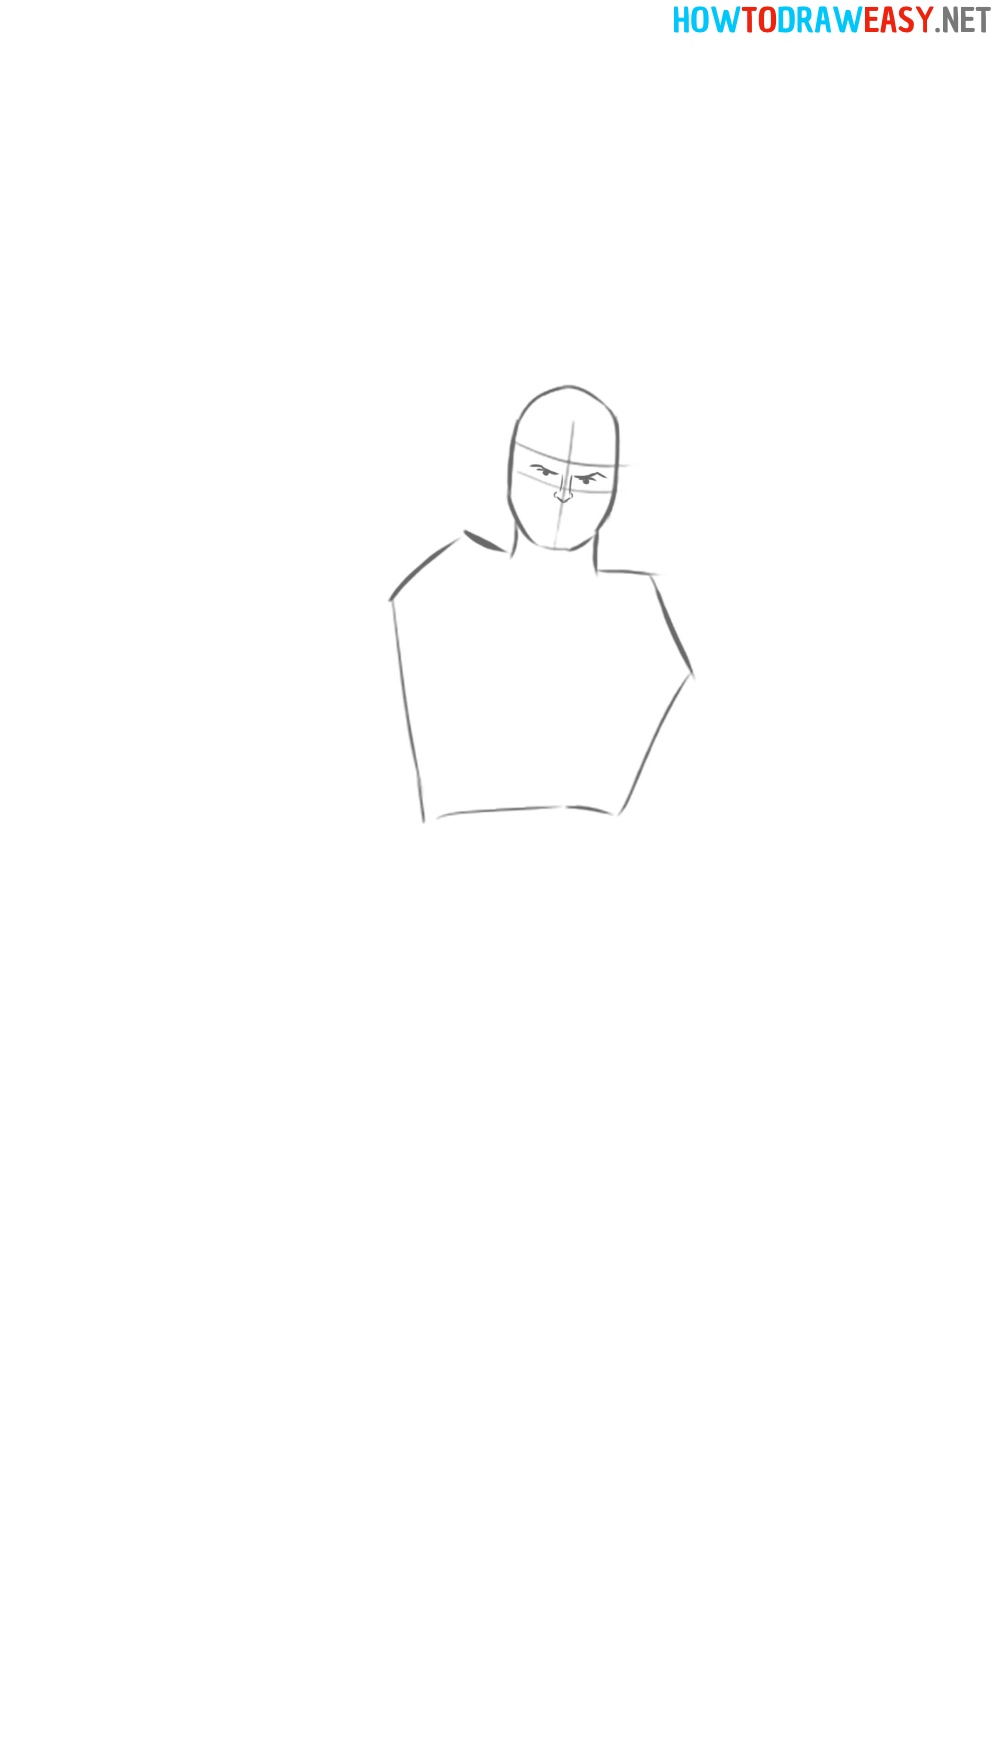
- Draw the nose.
Now draw Thor's nose using a vertical guideline.
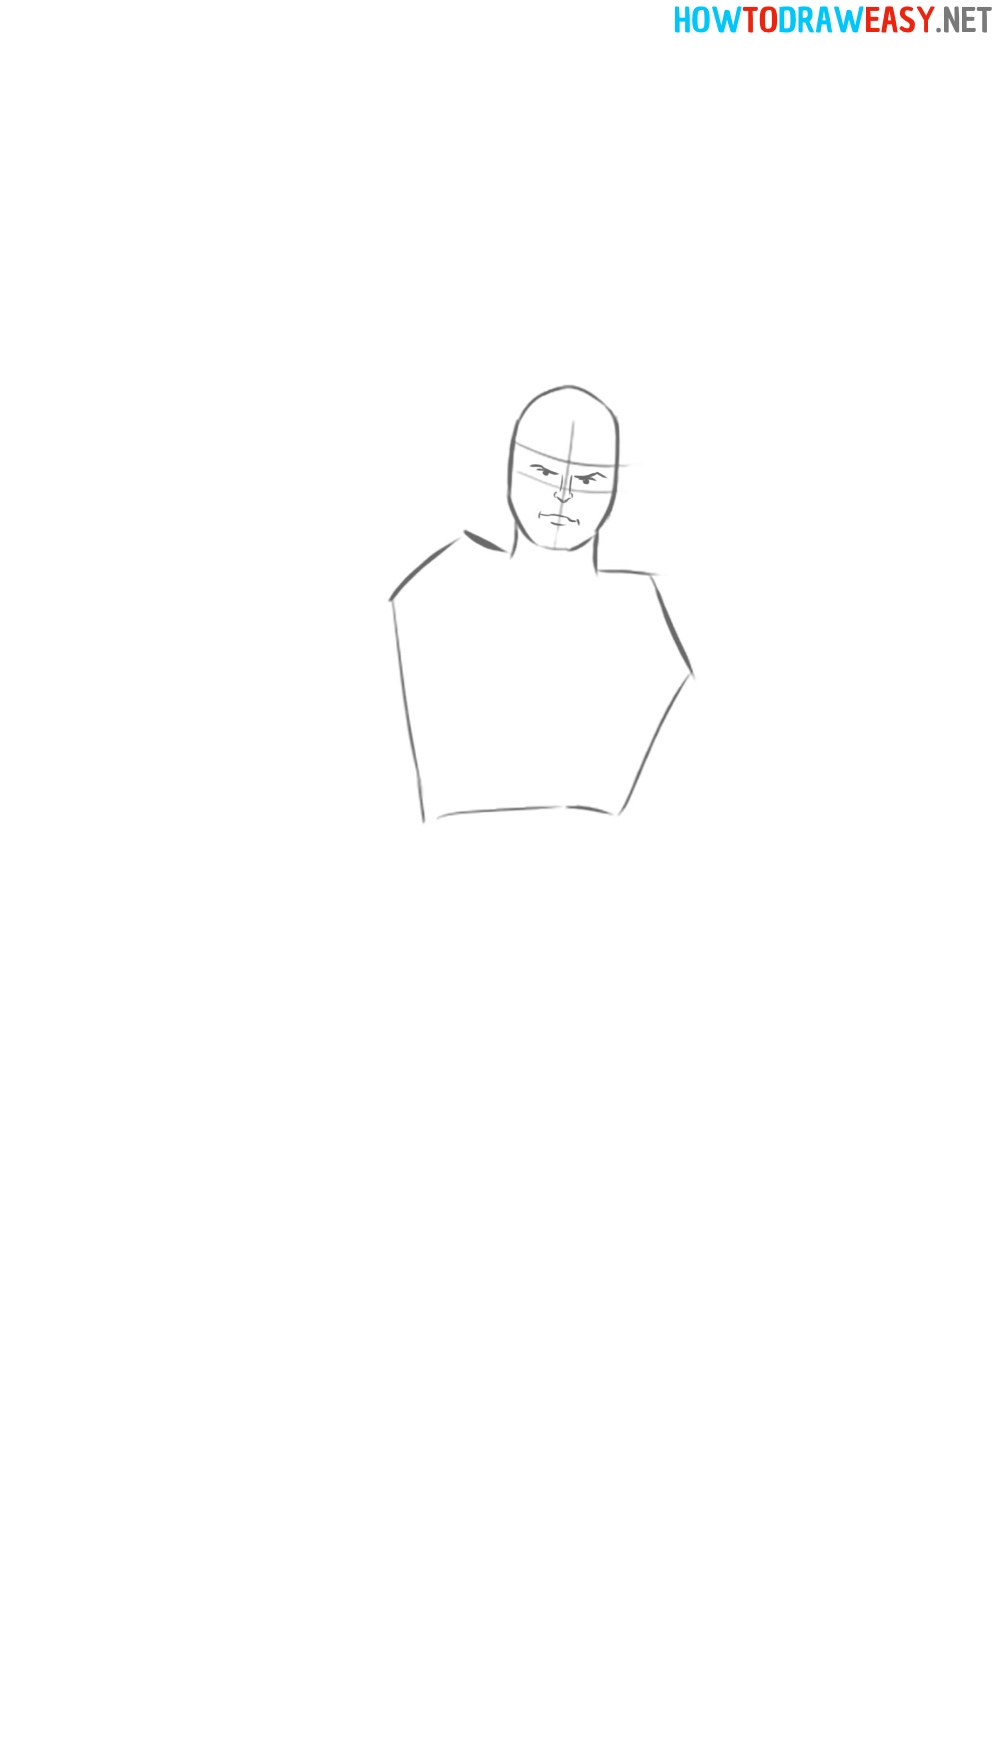
- Draw the mouth.
Draw the character's mouth with curved, simple lines.
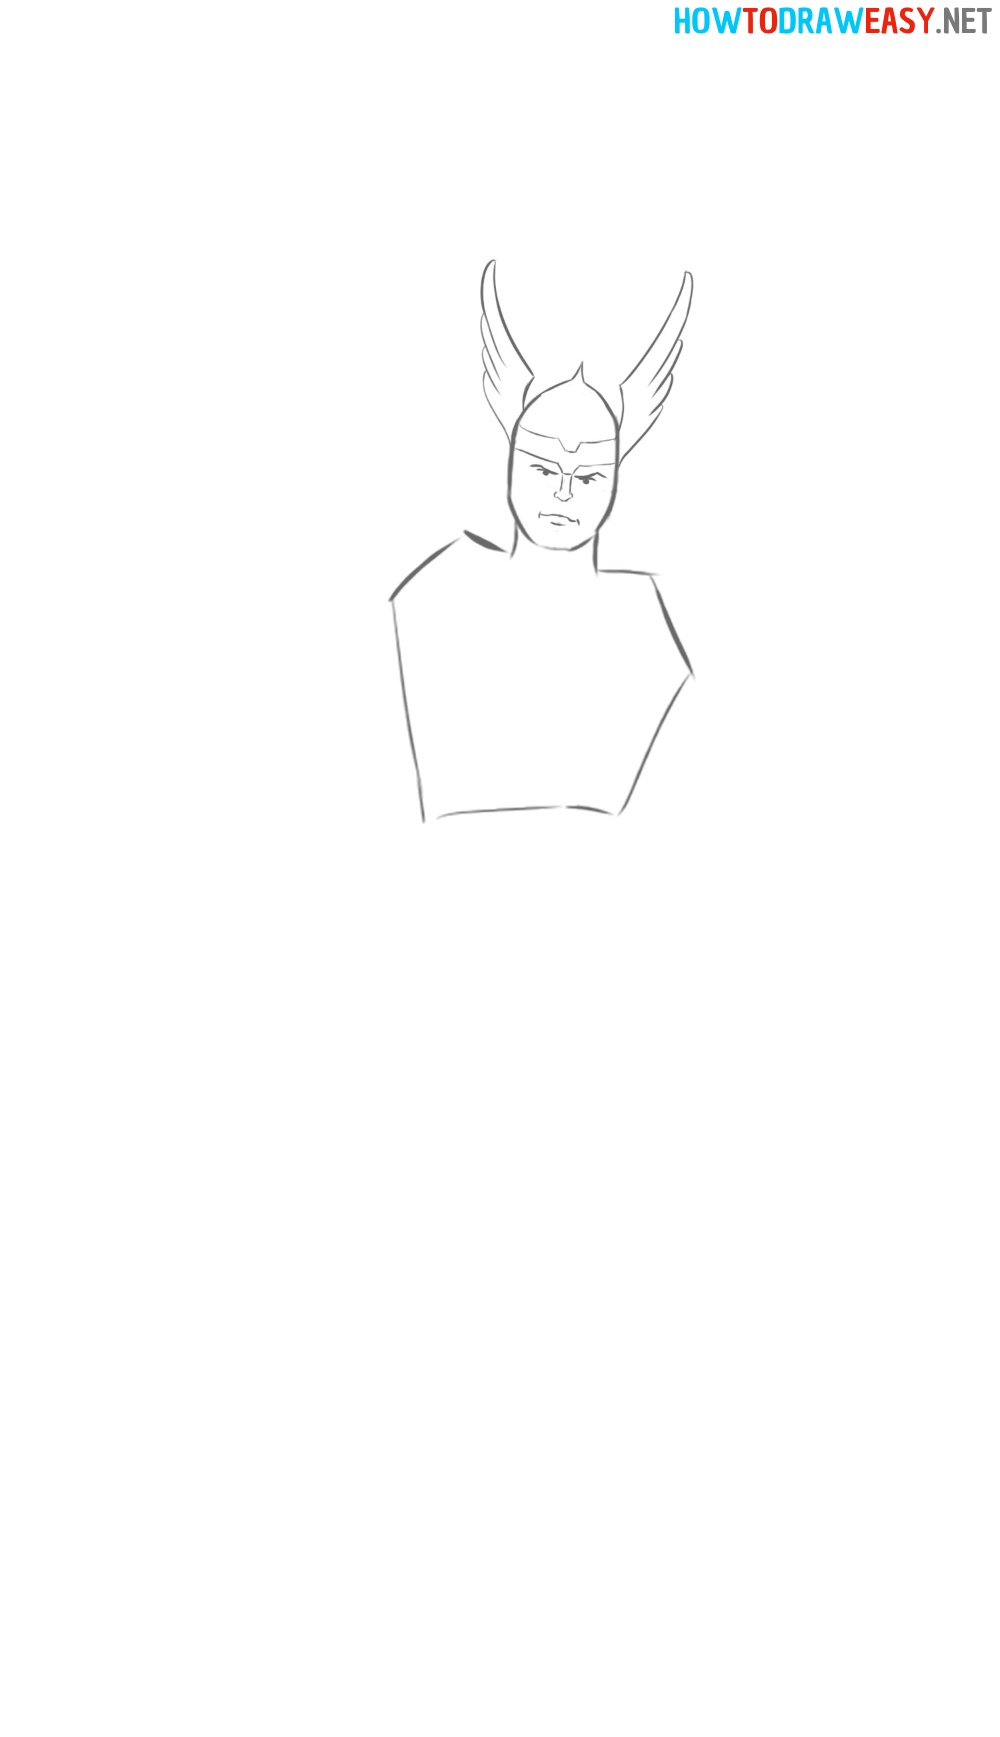
- Draw Thor's helmet.
Draw Thor's helmet with a pointed tip at the top, and also draw large wings on the sides of his helmet. And also at this stage, you can already erase the guidelines from the face.
- Draw the hair.
Now draw the long hair of the character.
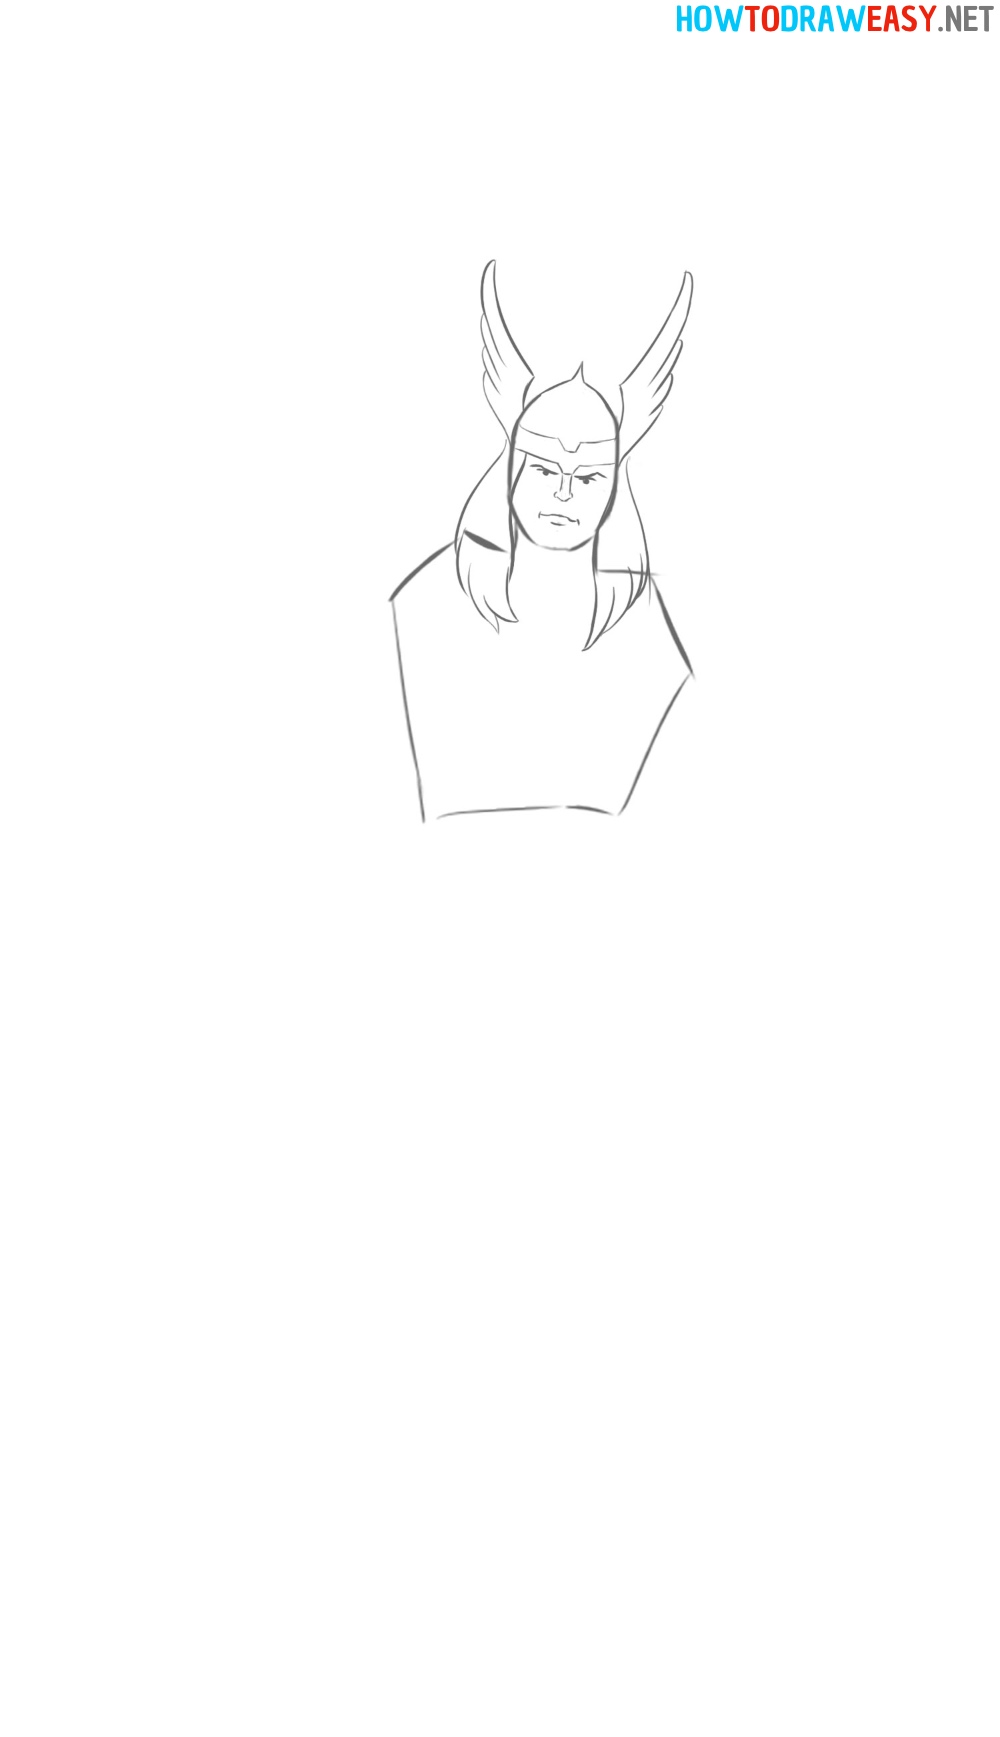
- Draw a beard.
Now draw Thor's lush beard.
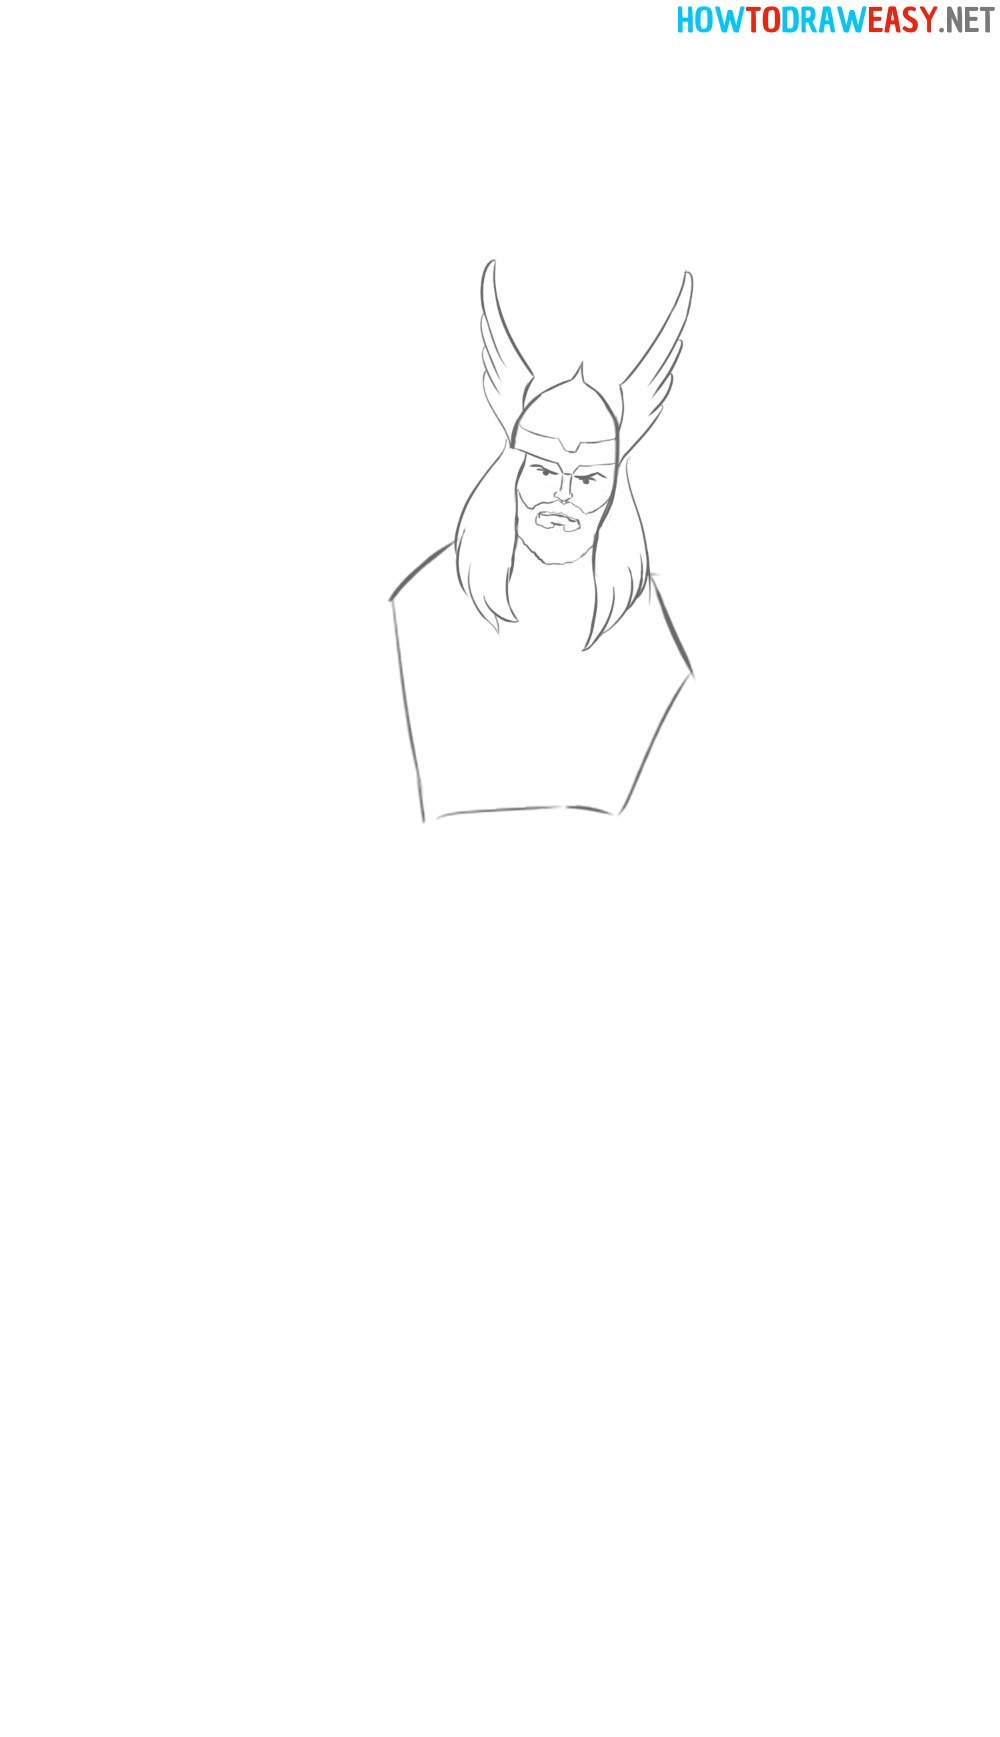
- Draw the torso.
Following the example from step, sketch out the character's torso along with the curves of his muscles.
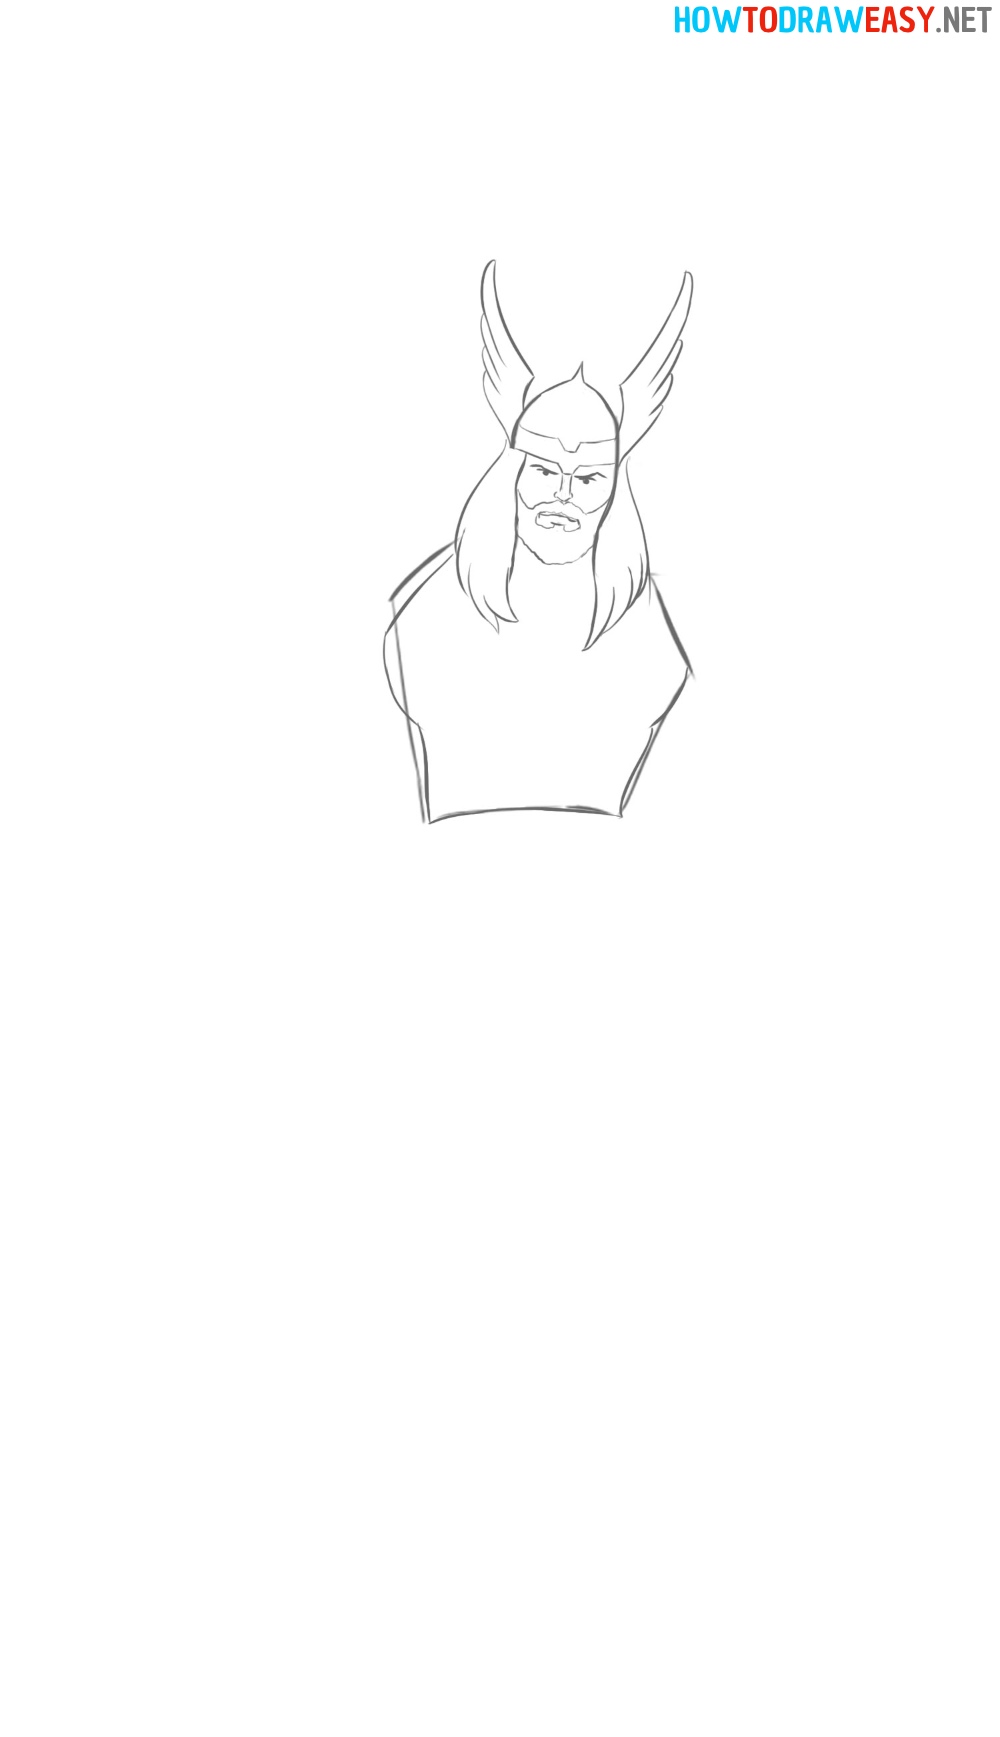
- The guiding lines of the arms.
Sketch out guidelines to help you understand in what area and in what position to draw Thor's arms.
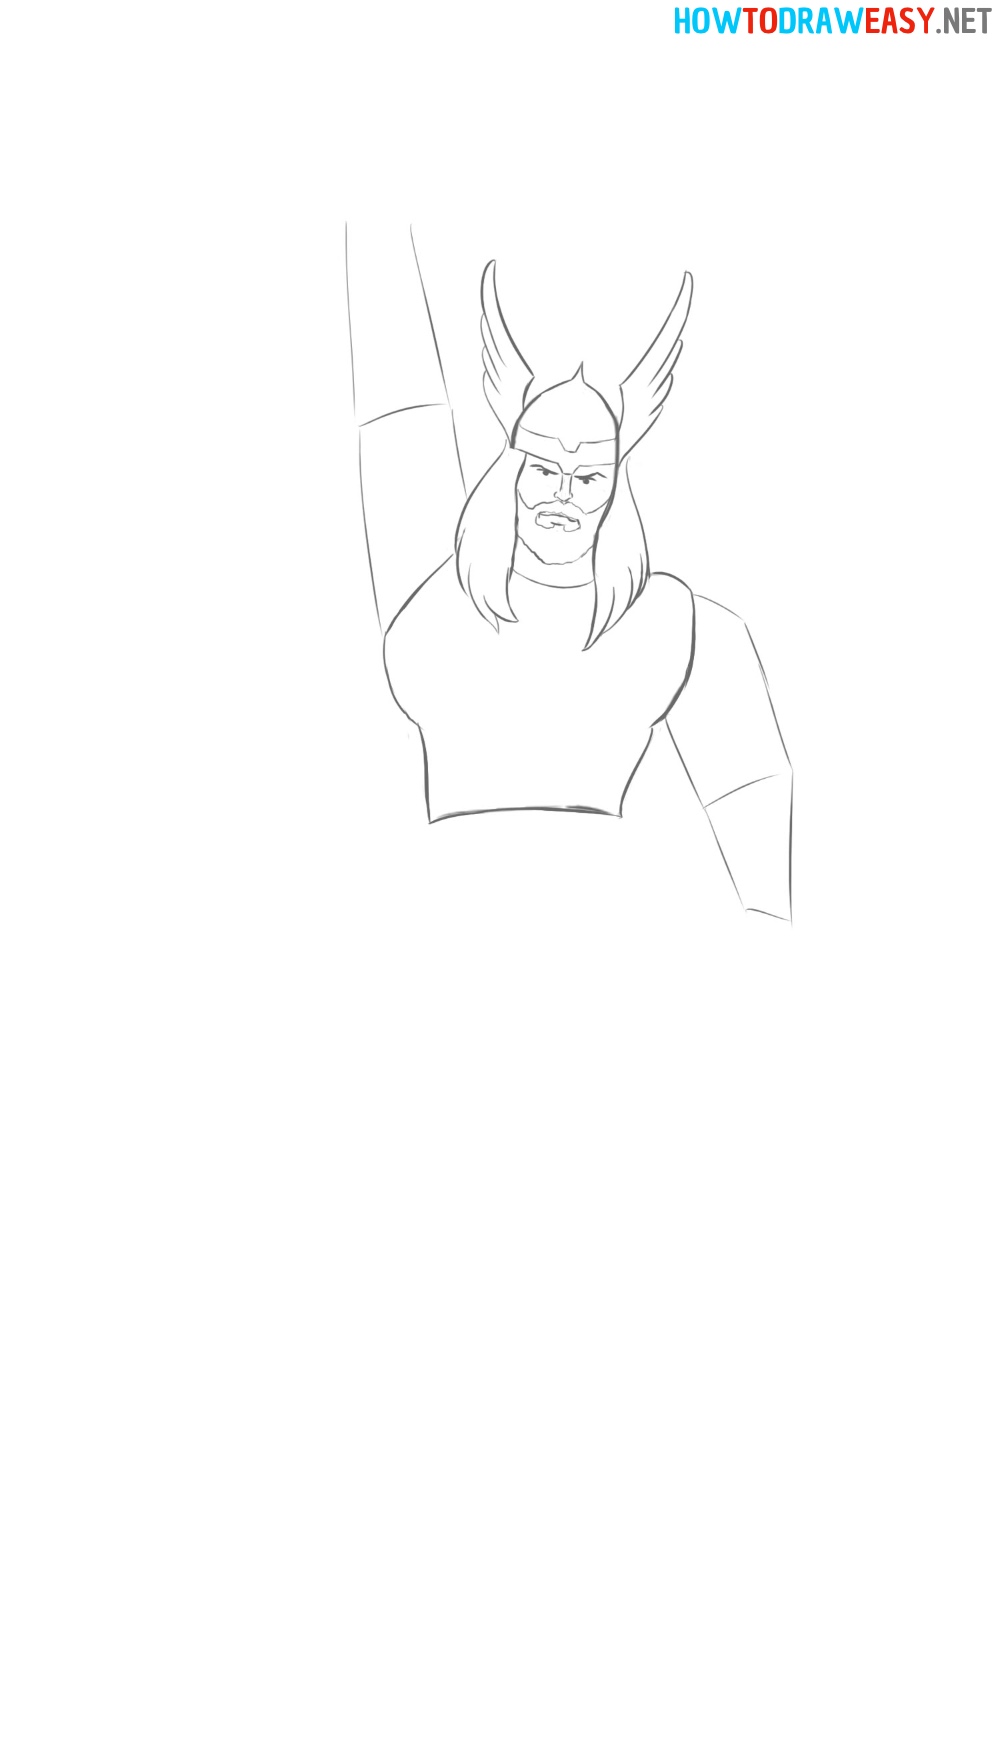
- Draw the arms.
Now using the guidelines sketch out Thor's detailed arms.
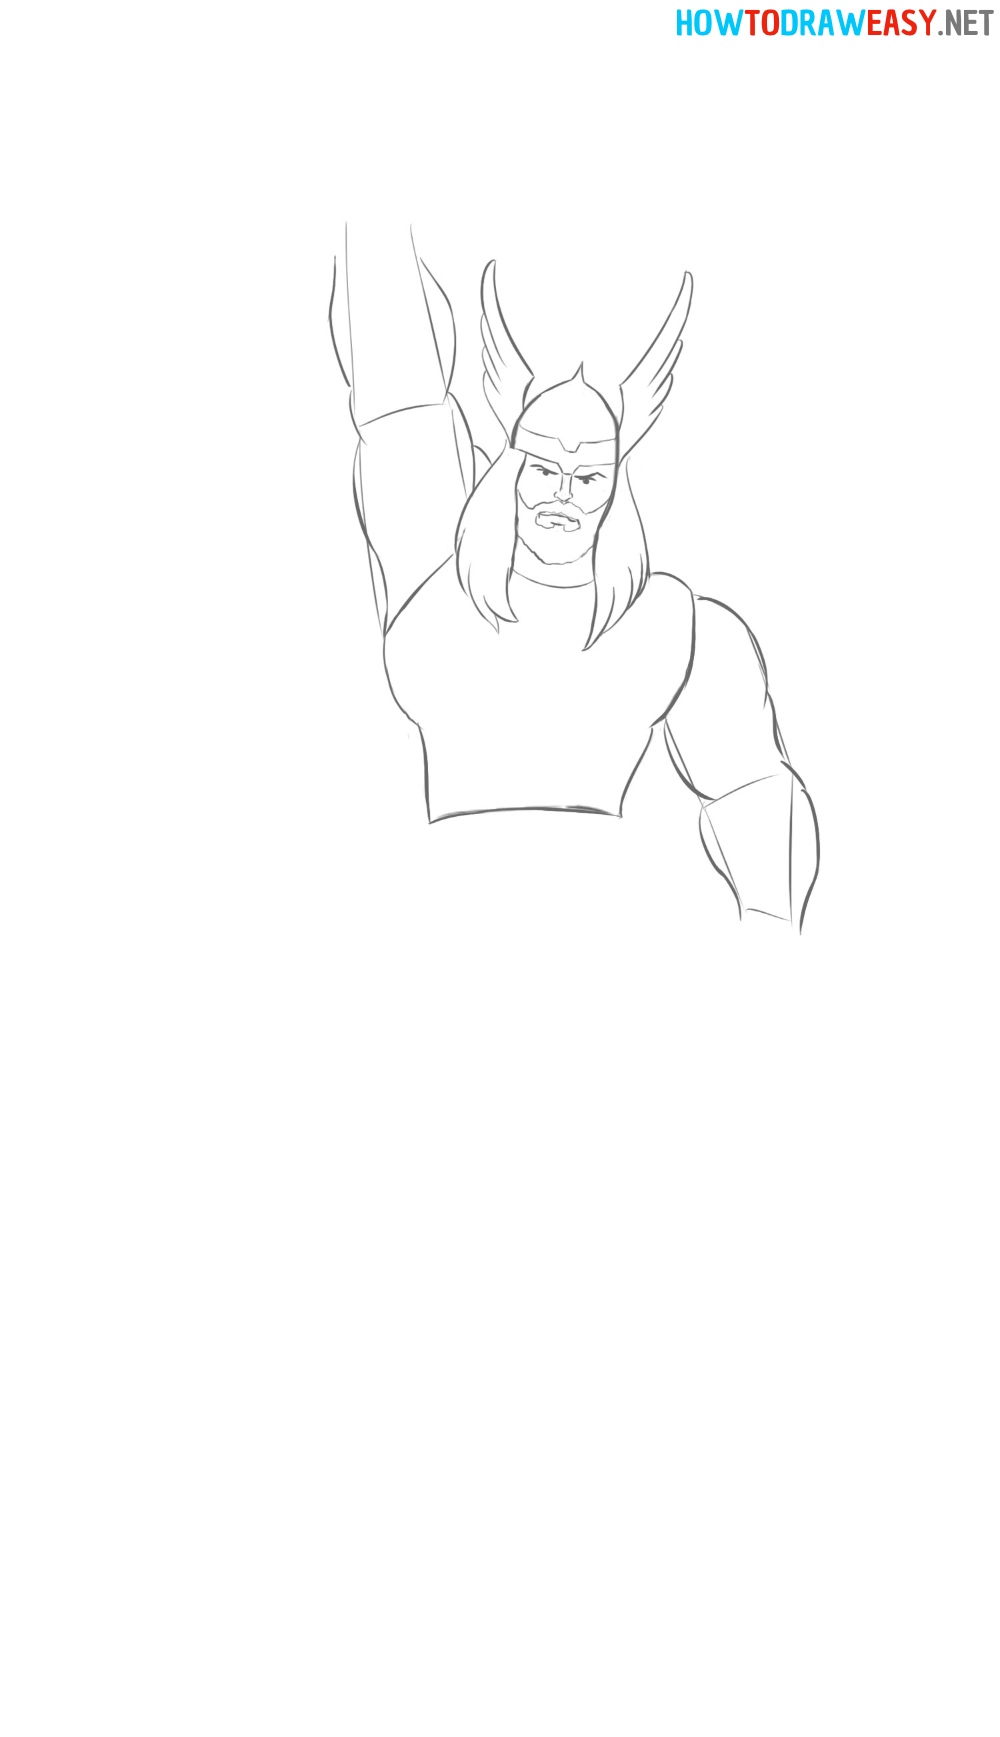
- Draw bracelets.
First, erase the guidelines of Thor's hands and then draw bracelets on the wrists. And also sketch out the muscle lines on Thor's arms following the example from step.
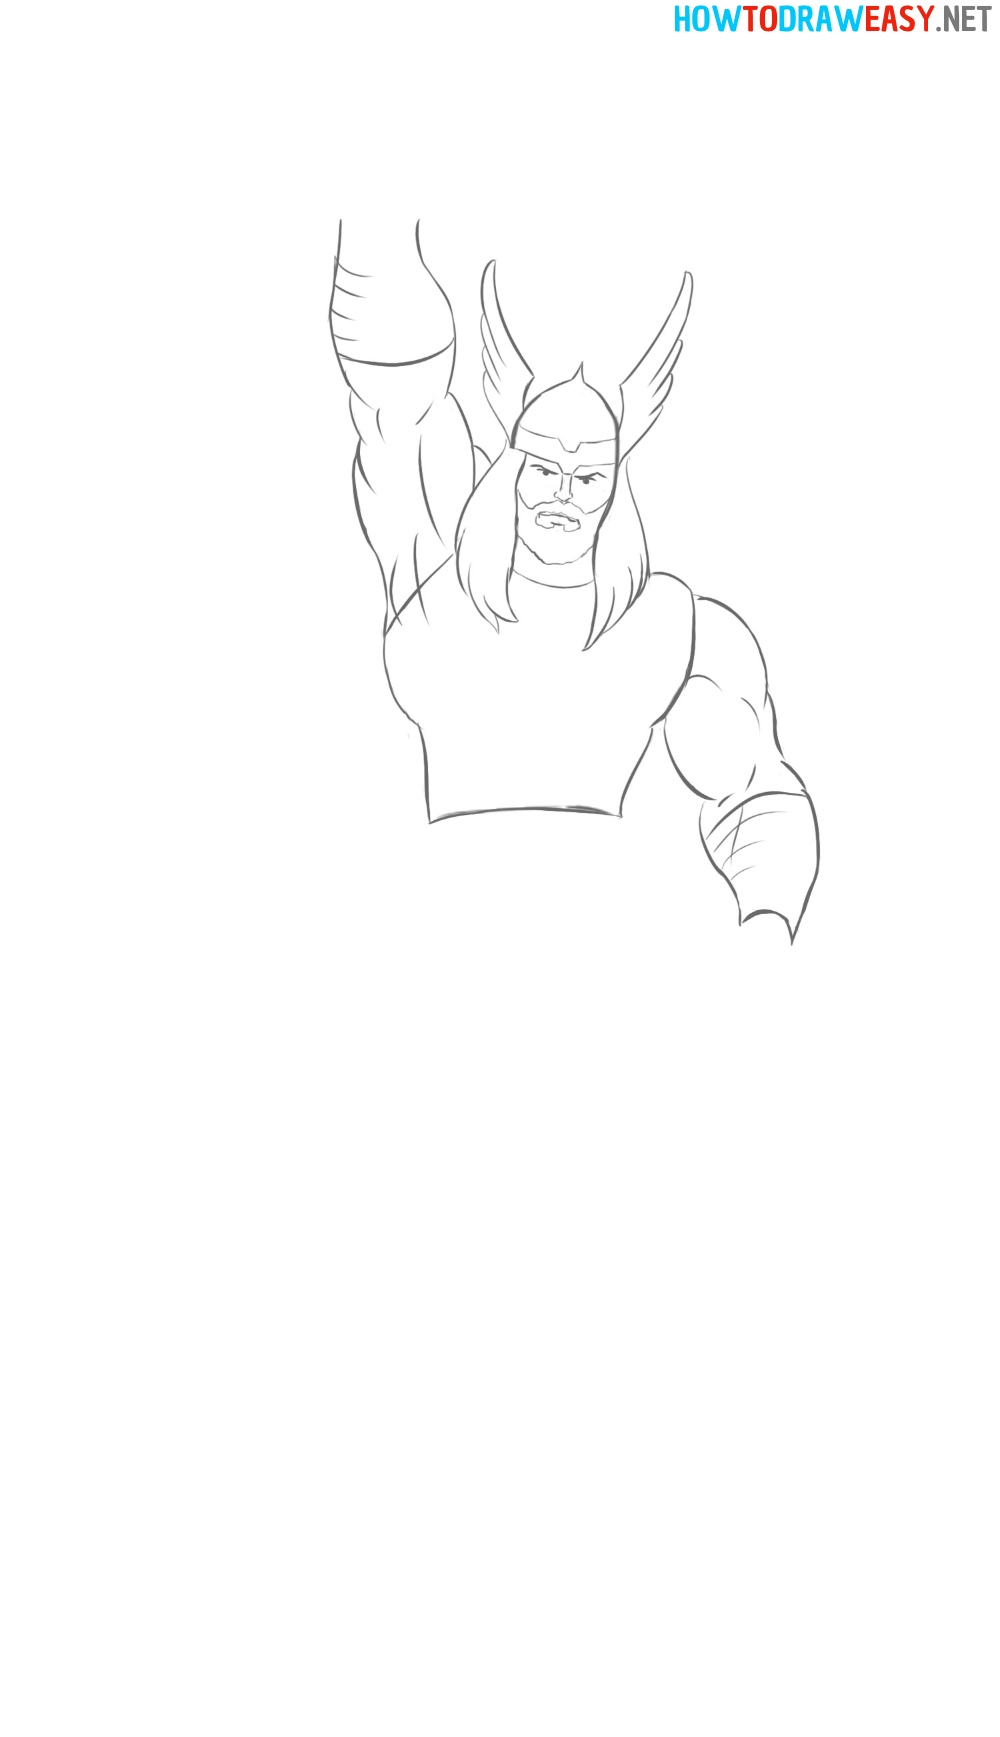
- Draw the hands.
Draw the hands of Thor.
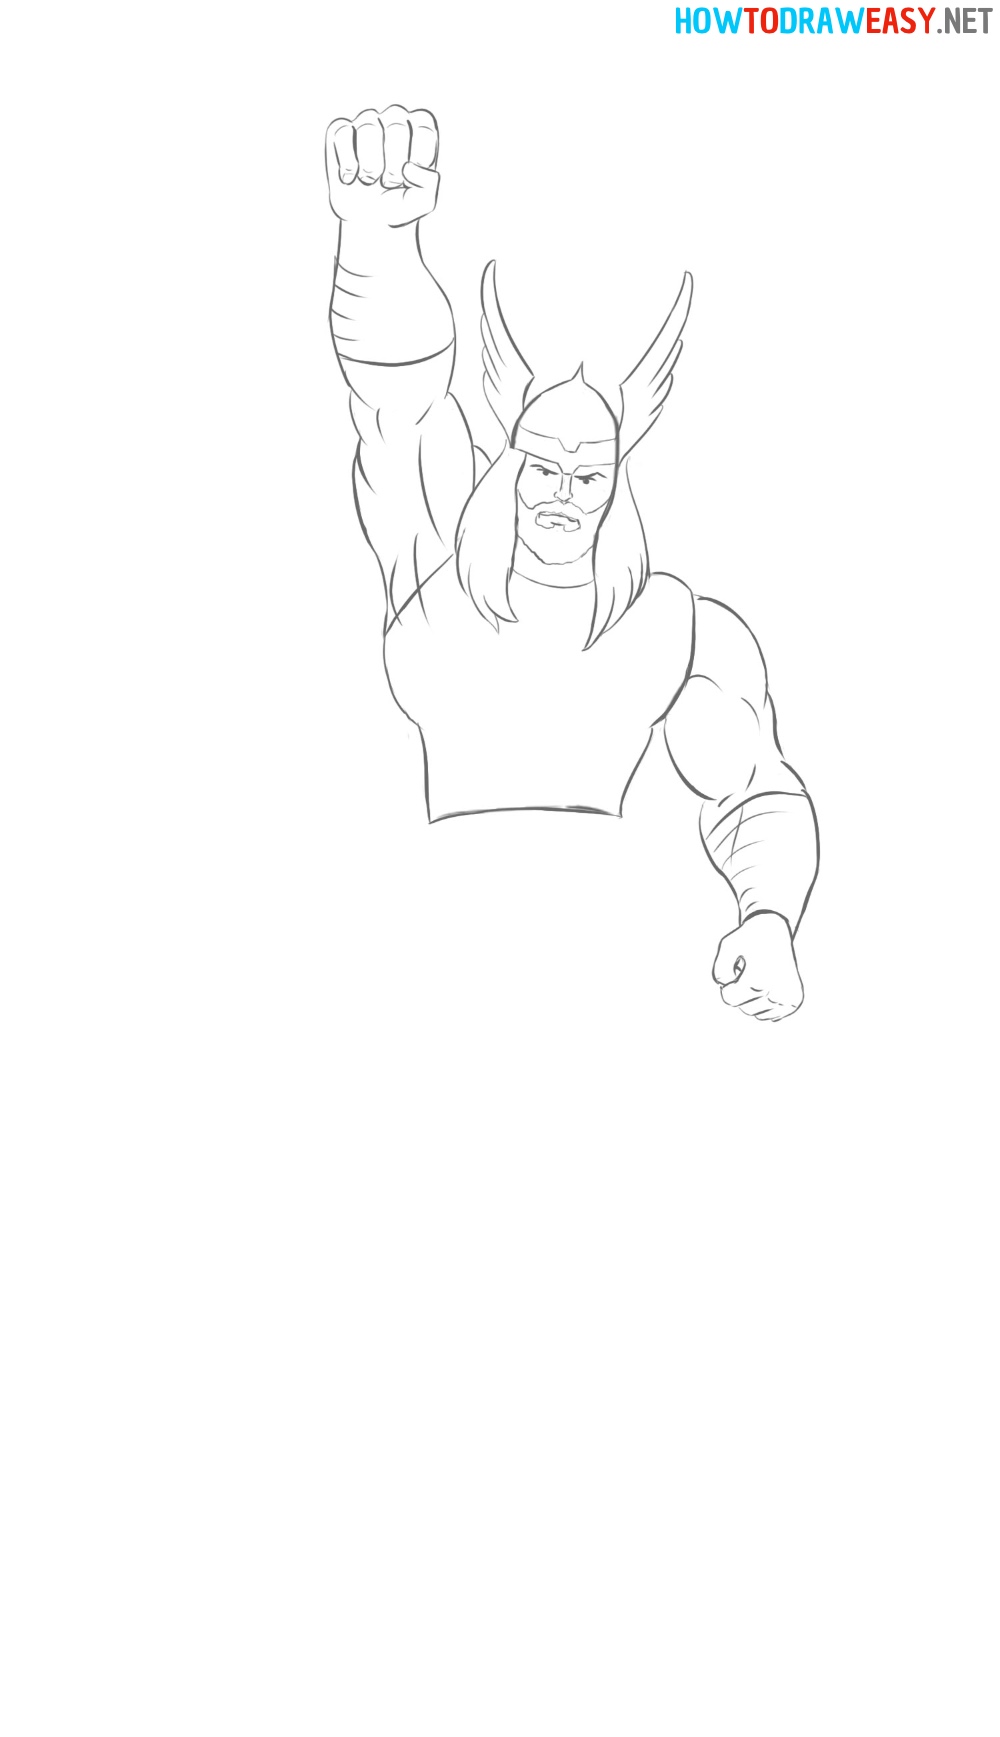
- Draw the handle of the hammer.
Draw the handles of Mjolnir's hammer using straight lines.
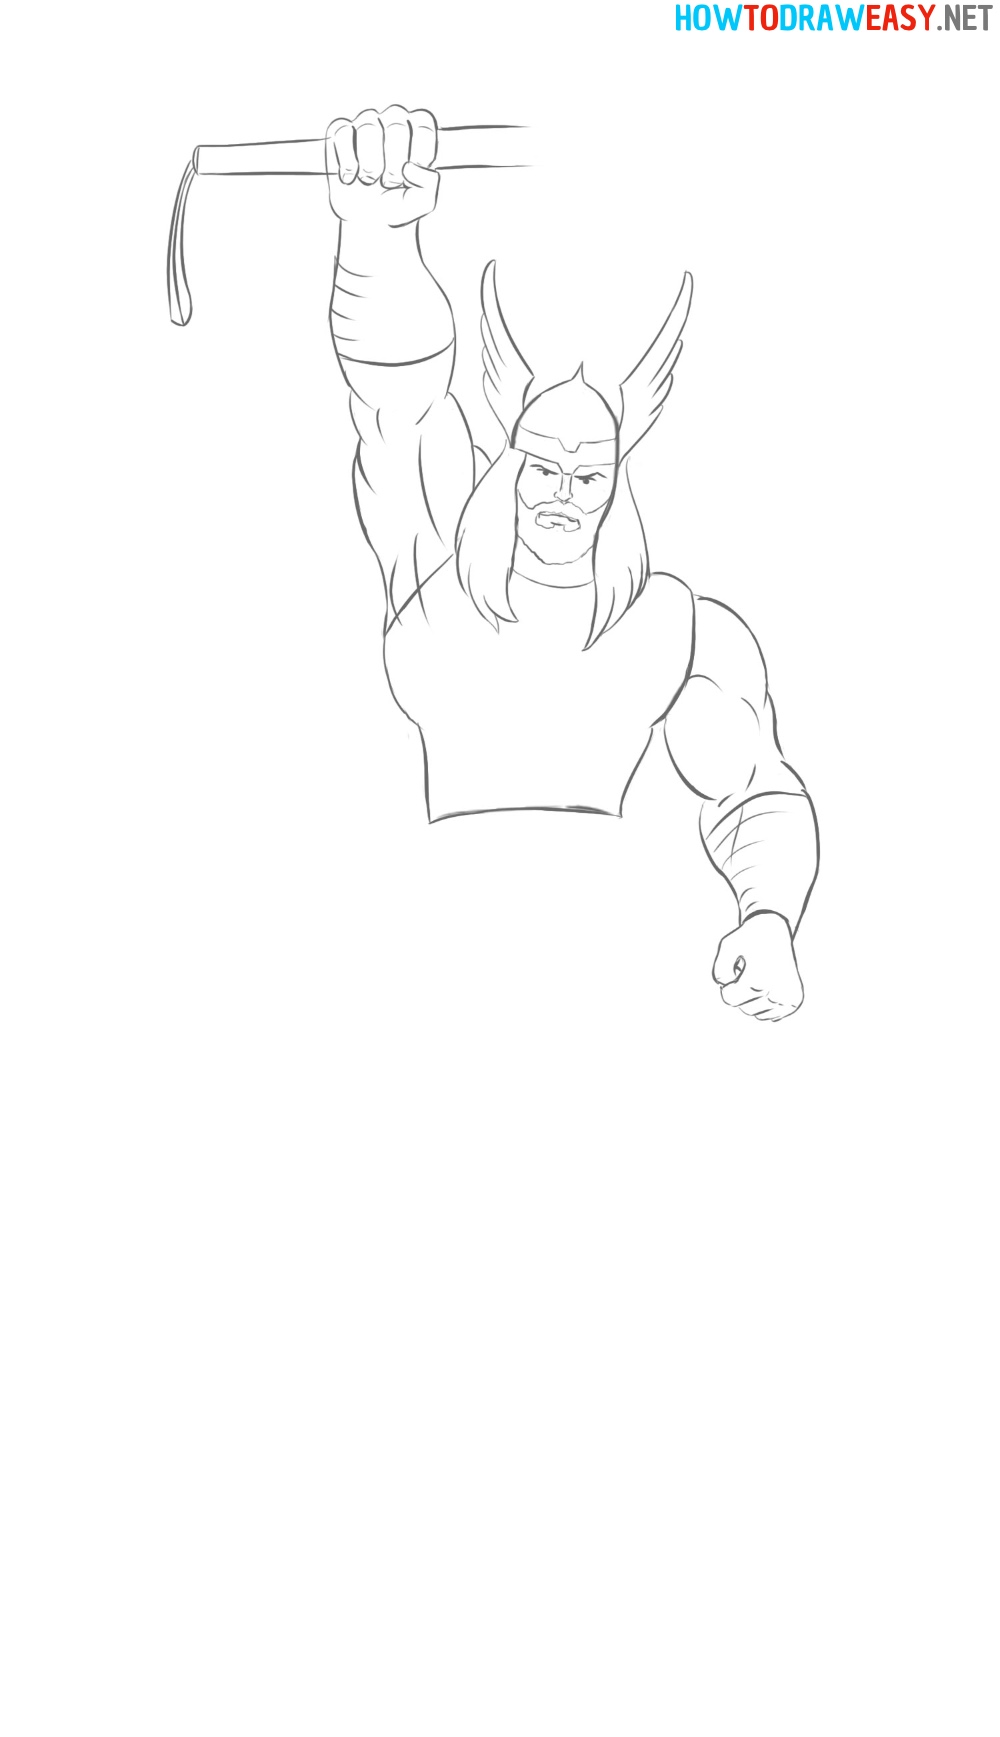
- Draw Mjolnir.
Now finish drawing Thor's hammer.
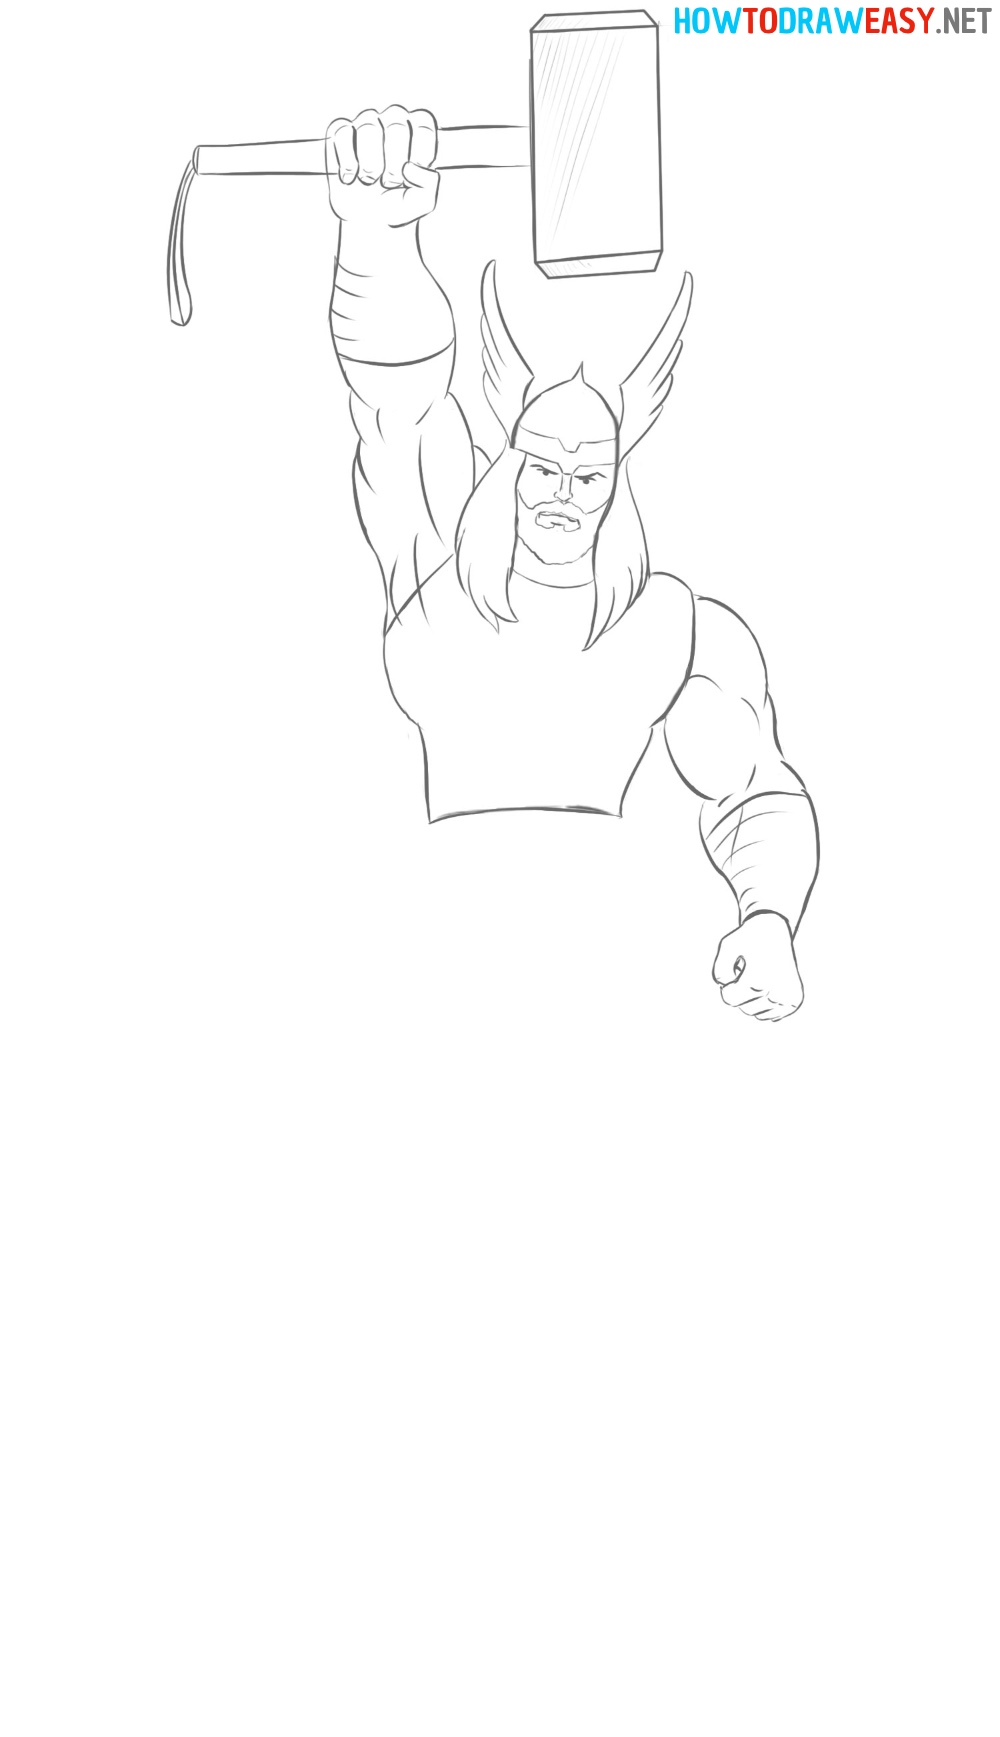
- Draw the belt.
Draw lines for Thor's belt.
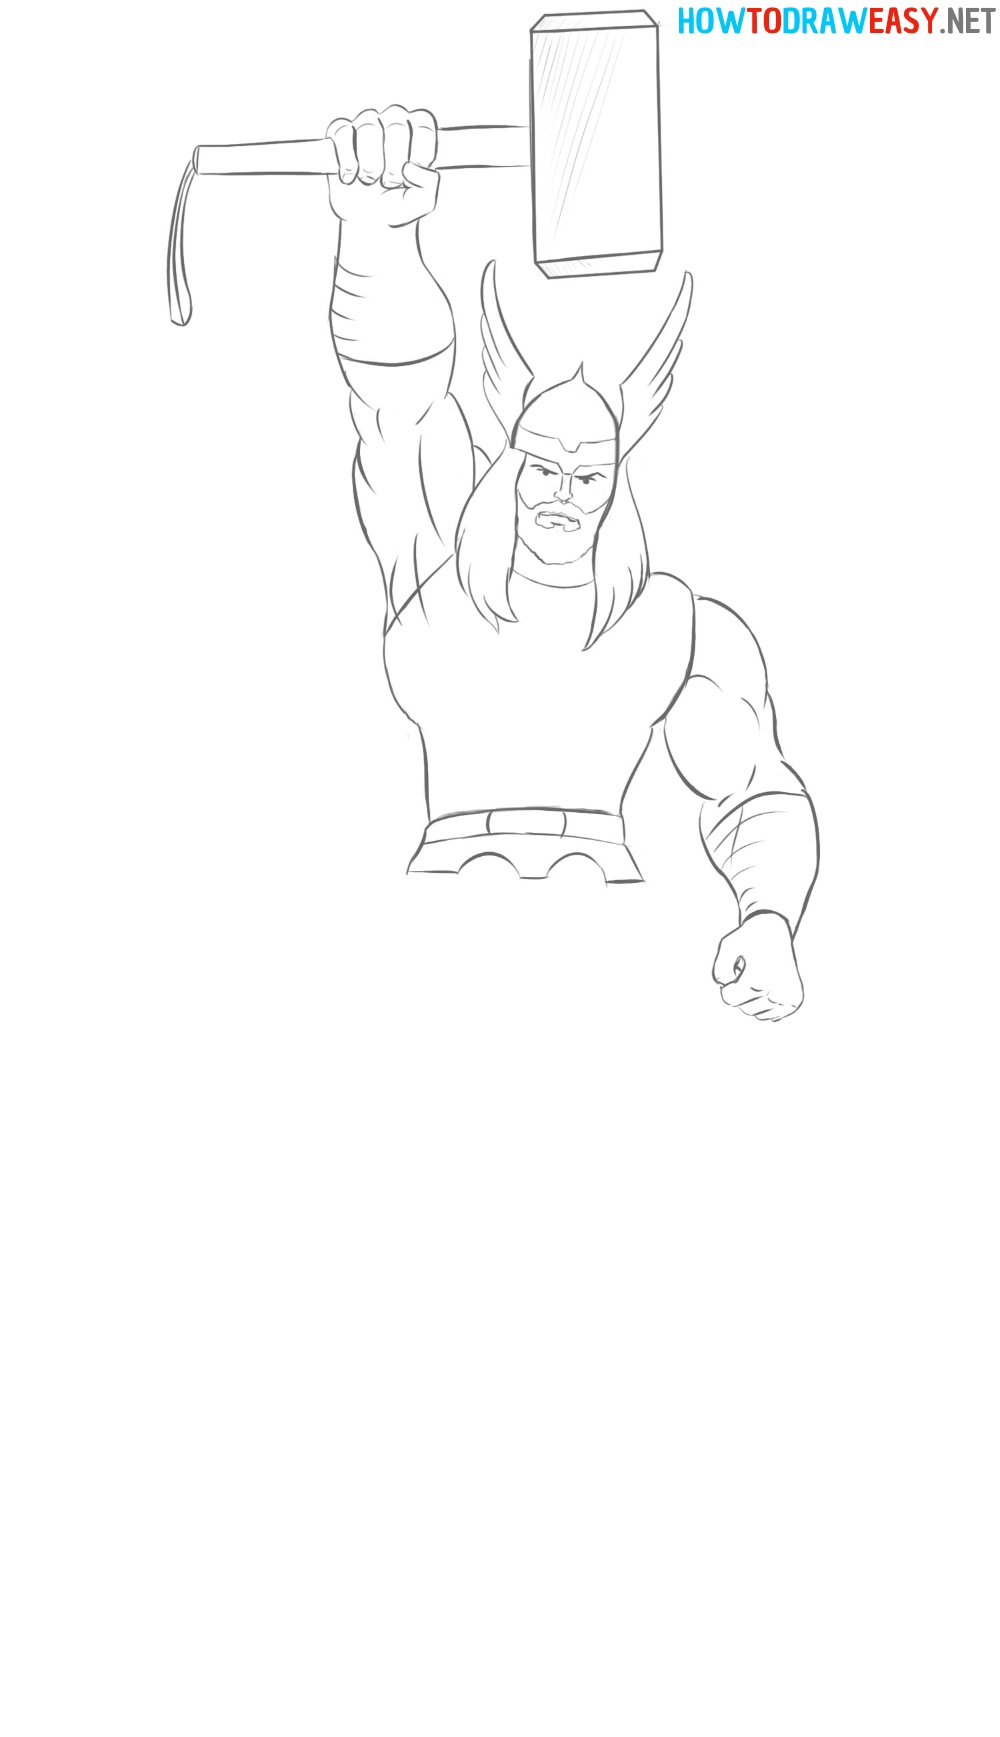
- Draw the legs.
Now draw completely the legs of the character.
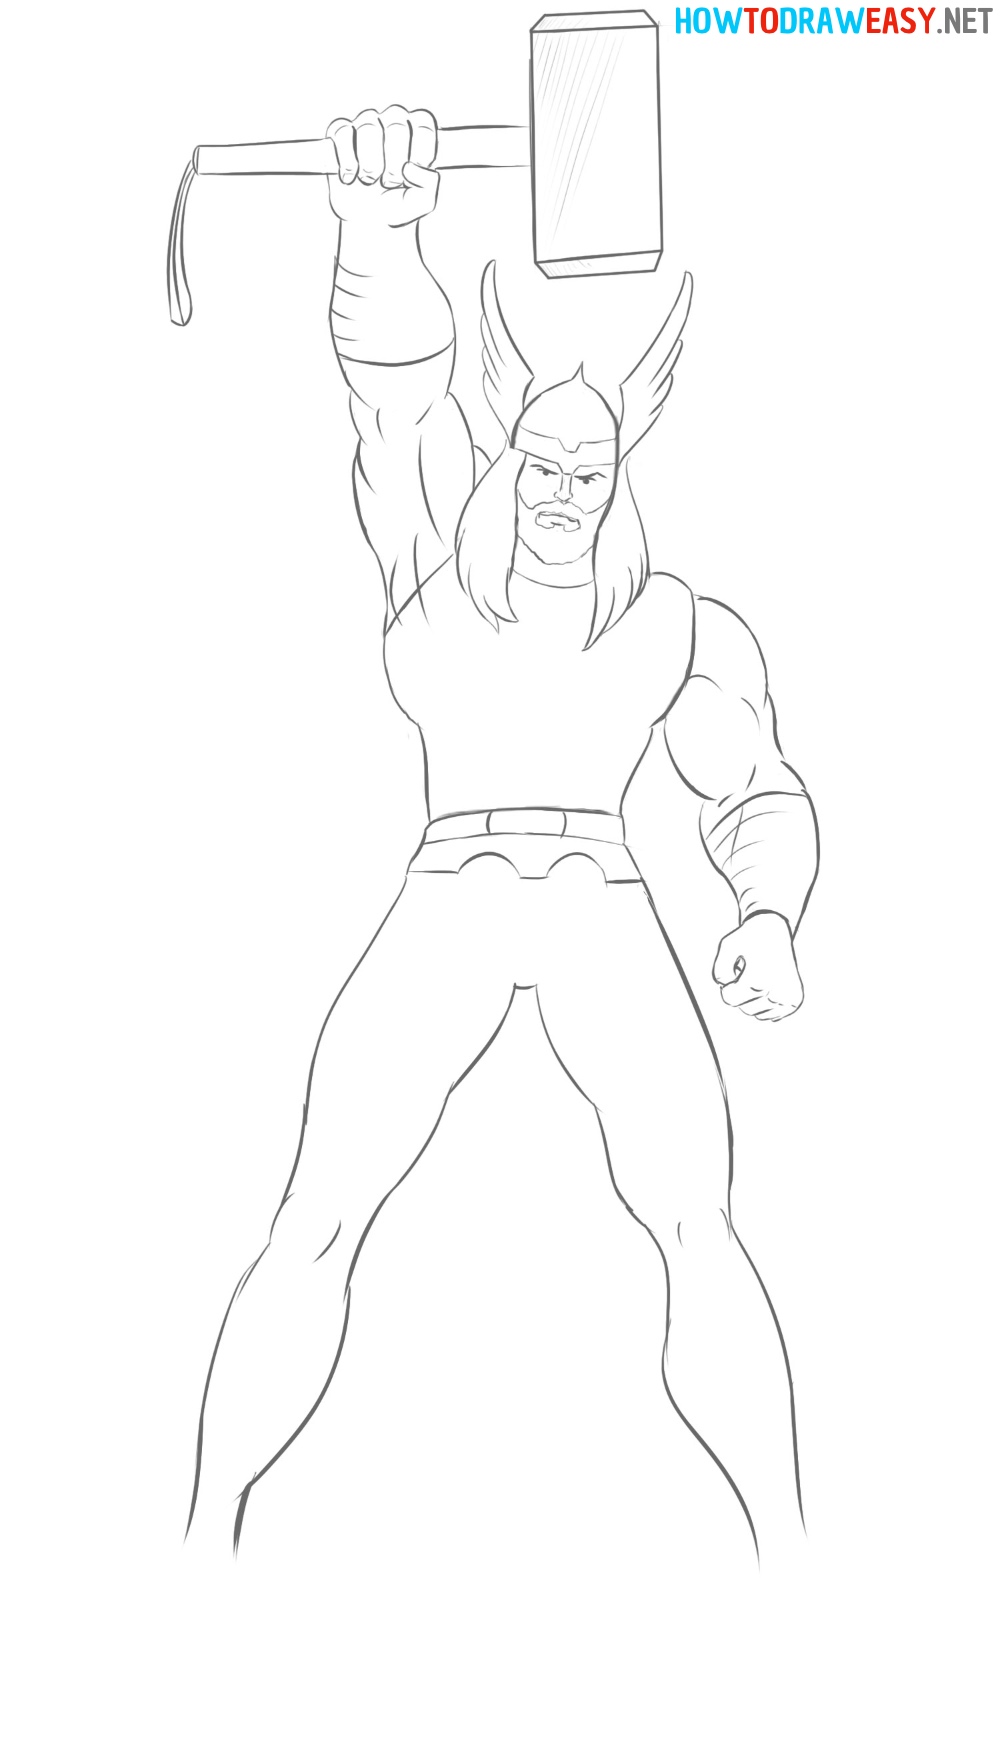
- Draw the boots.
Draw Thor's long boots.
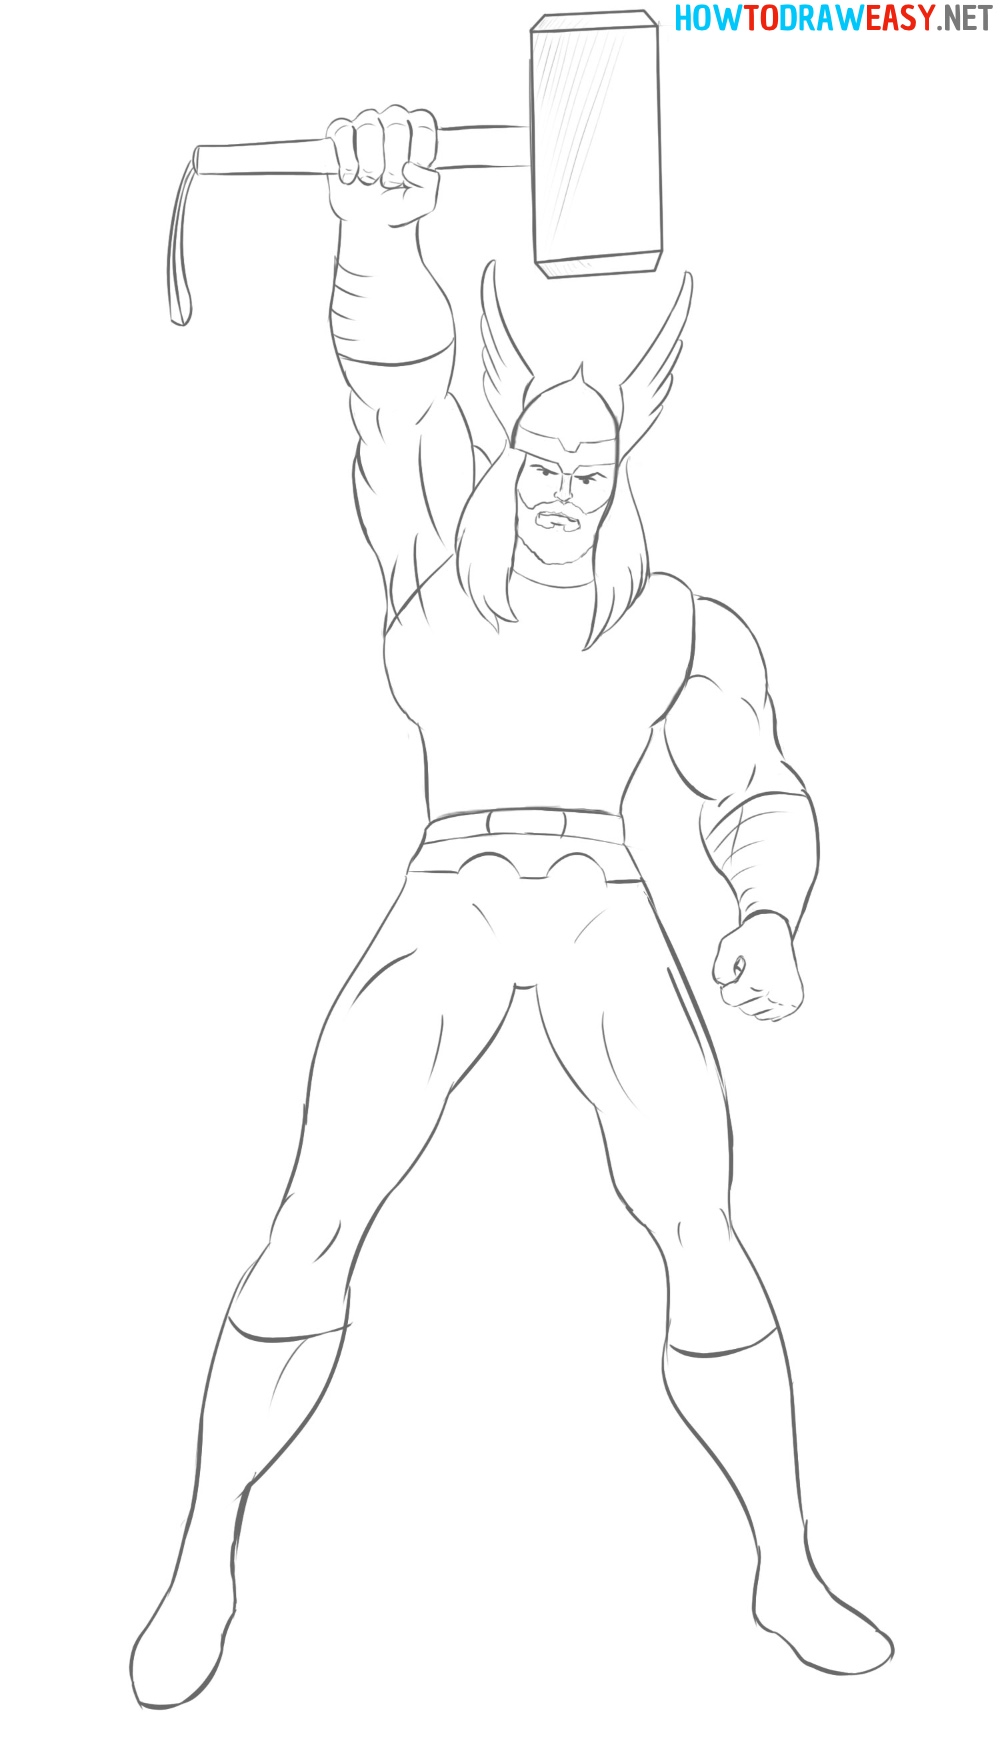
- Details of the suit.
Draw round plates on Thor's suit. And also sketch out the muscle lines as shown in the example.
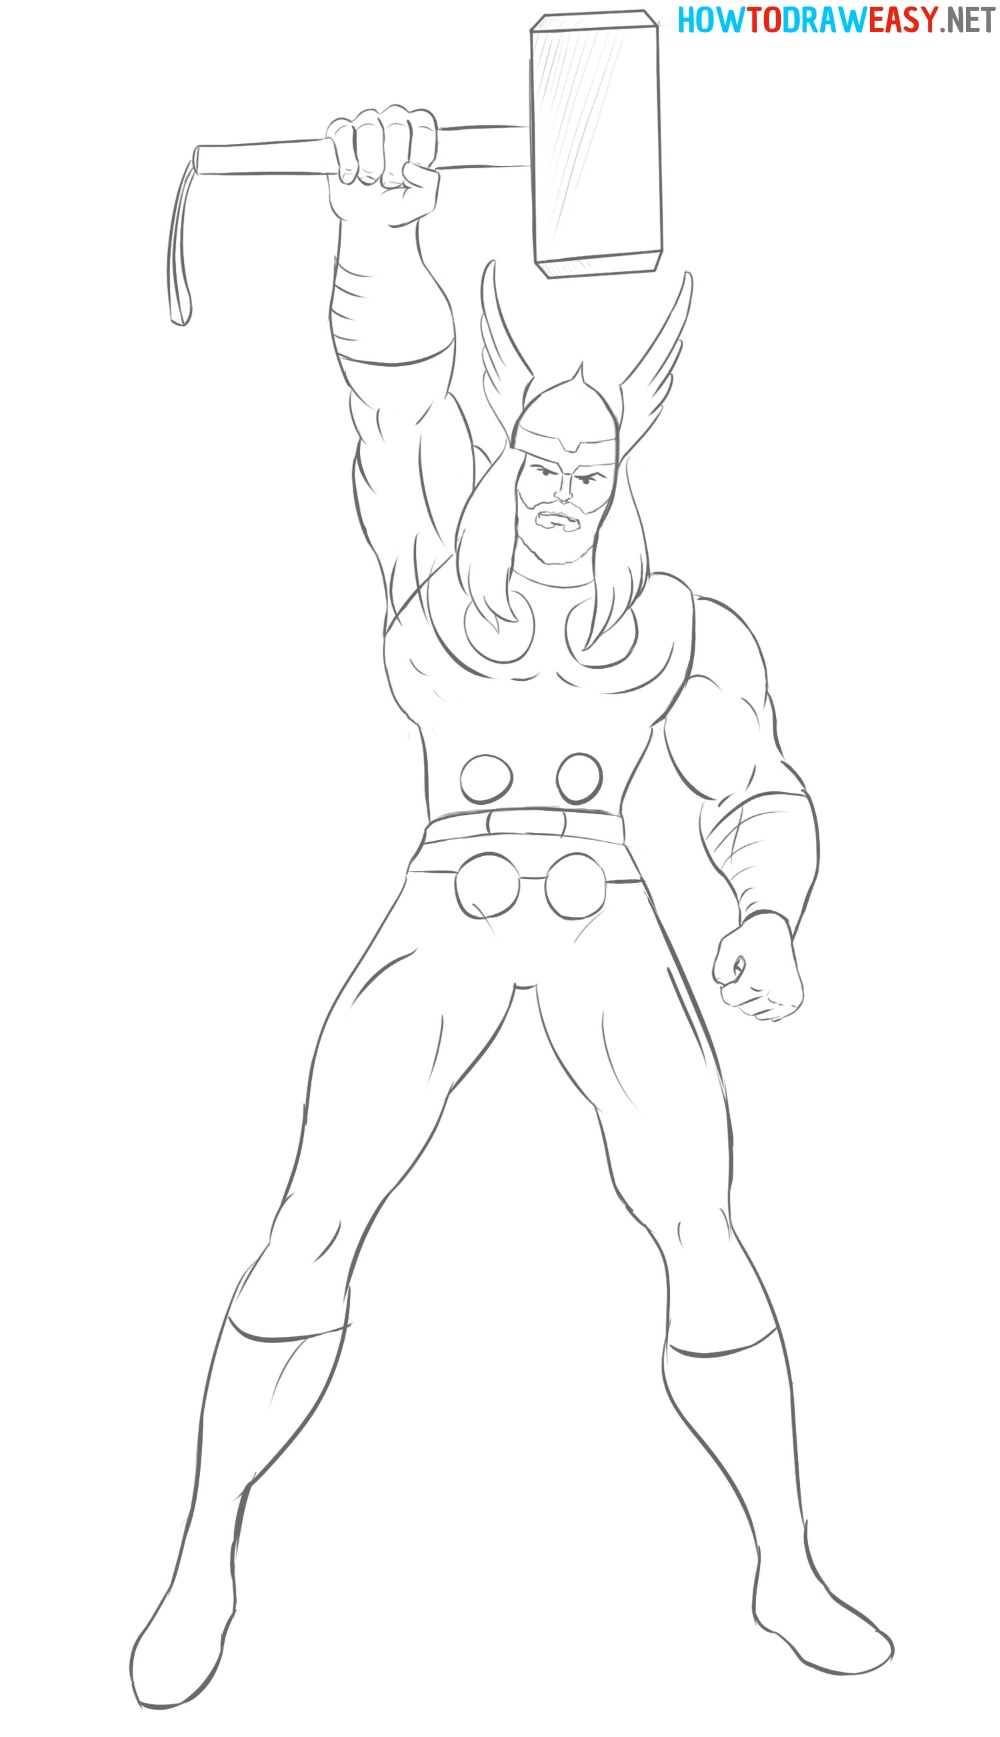
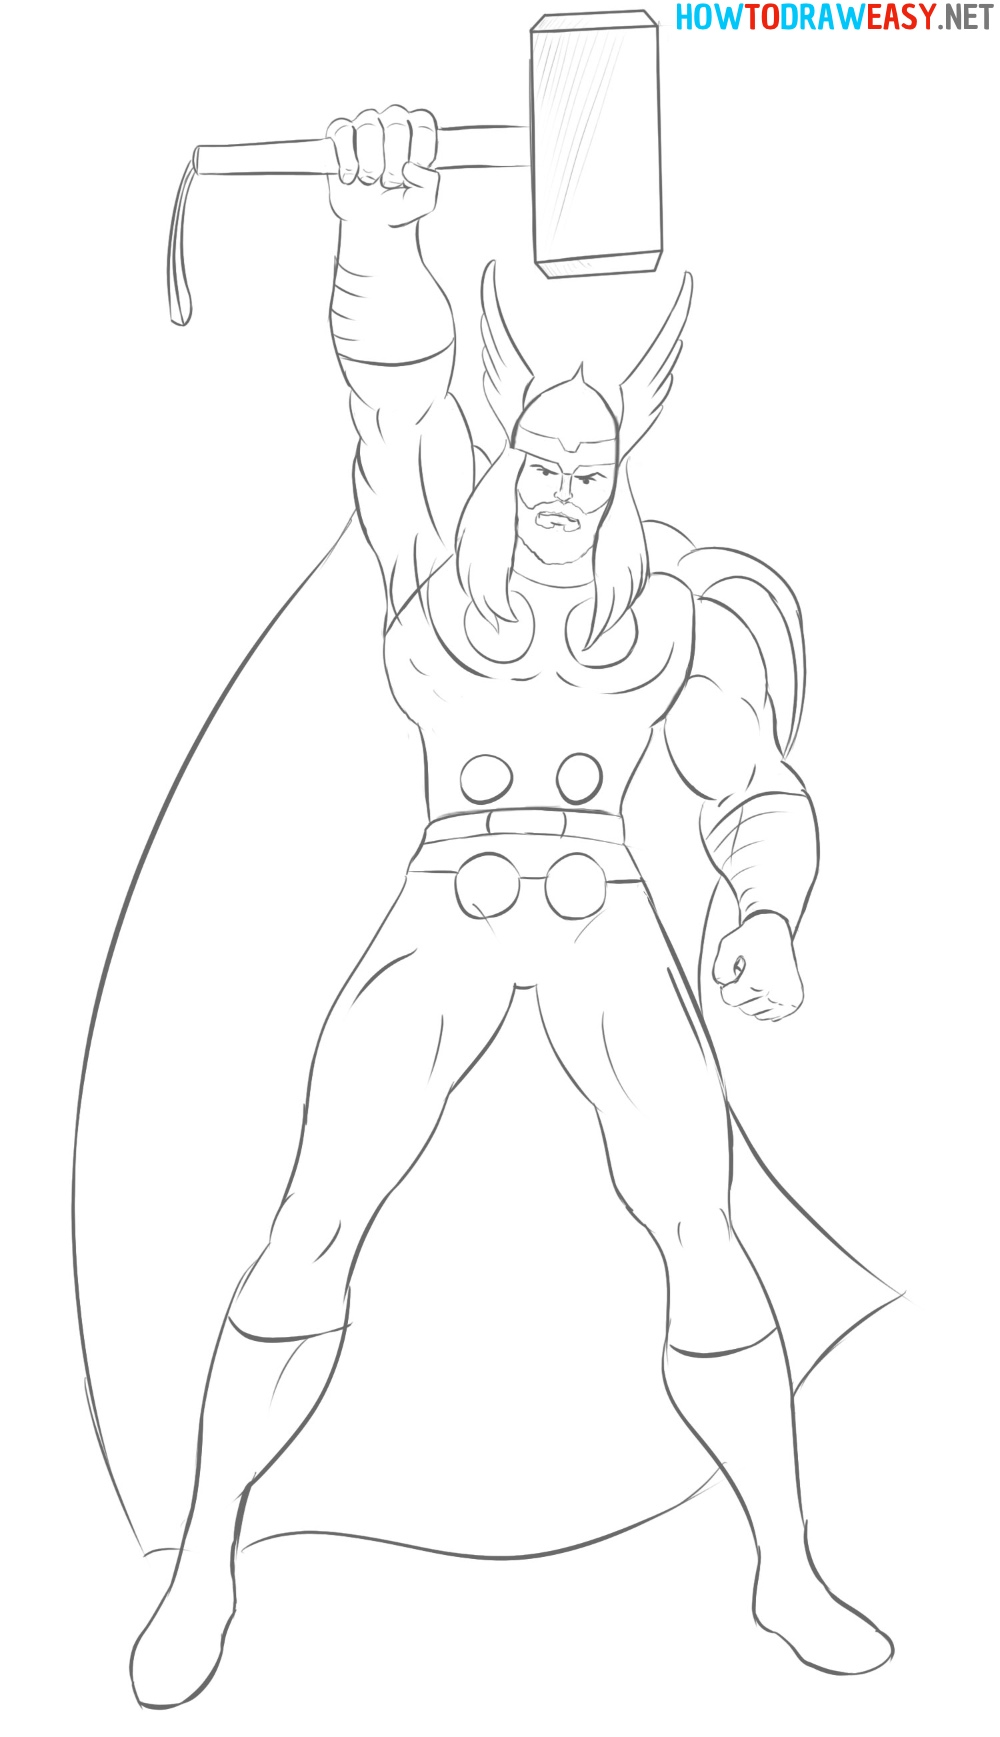
- Draw Thor's cape.
Using the lines draw the character's long cape.
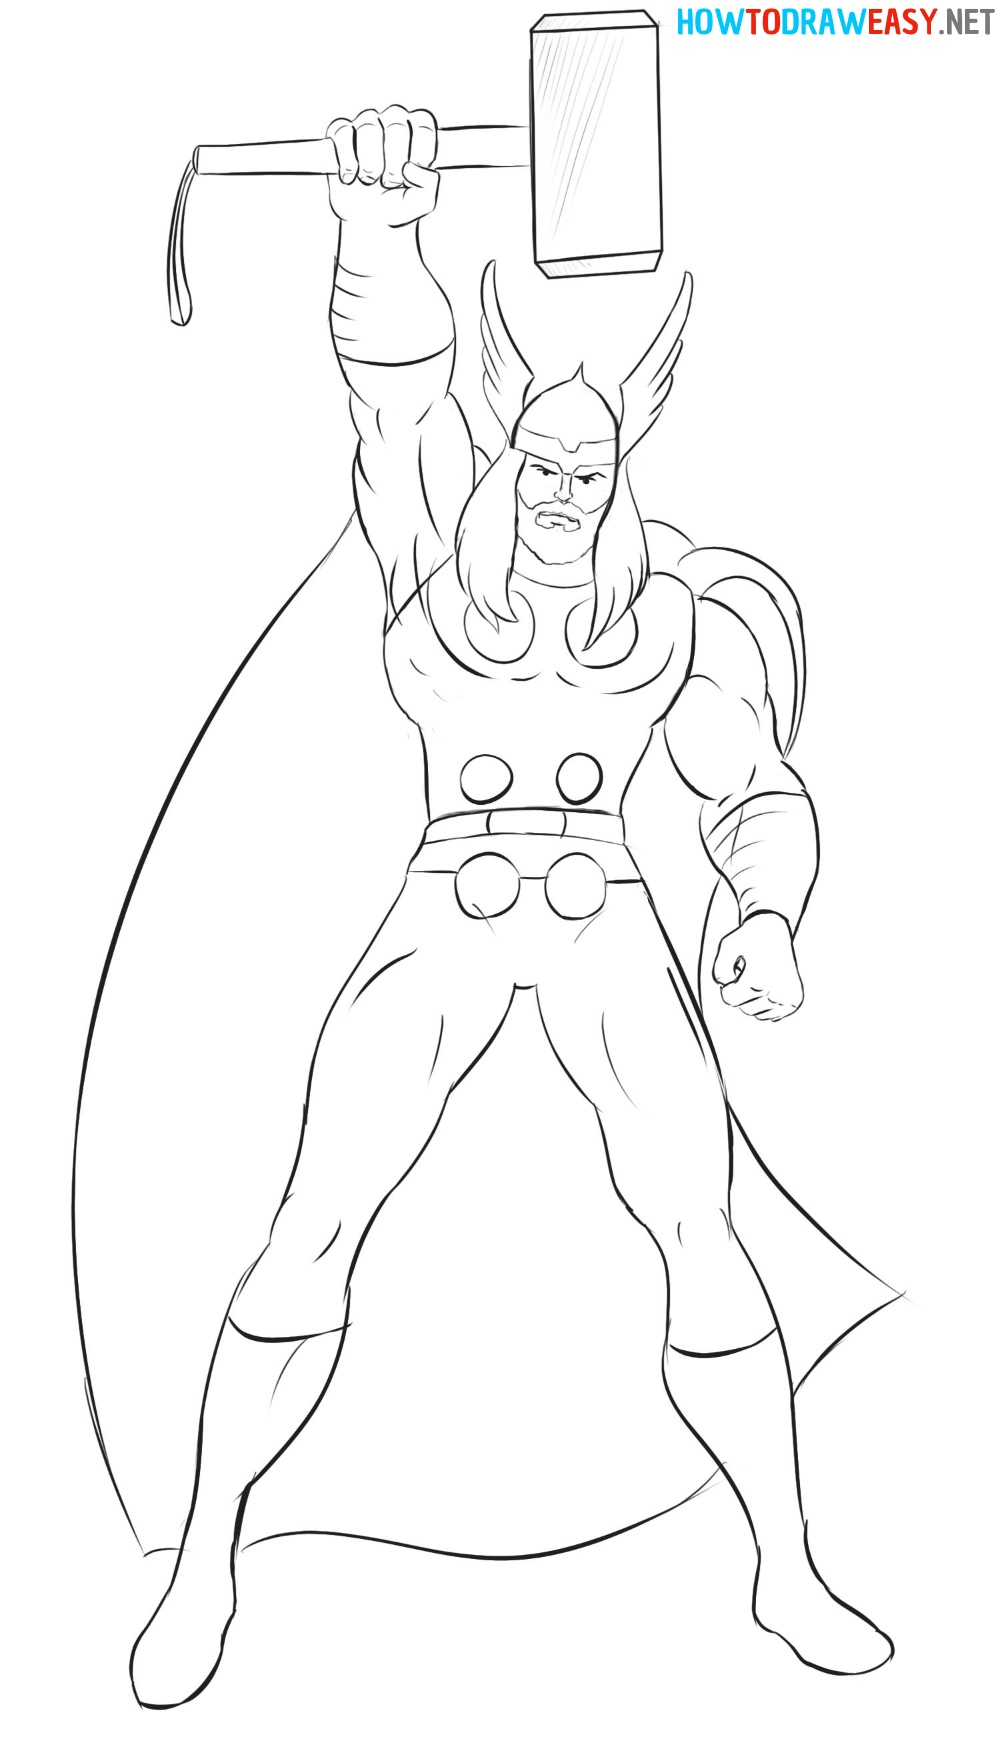
- Trace the sketch.
Now use a marker to trace your sketch. You can also do this with ink and a fountain pen, or with a thin small brush and black paint.
- Color your artwork.
Color the artwork with your favorite coloring tools.
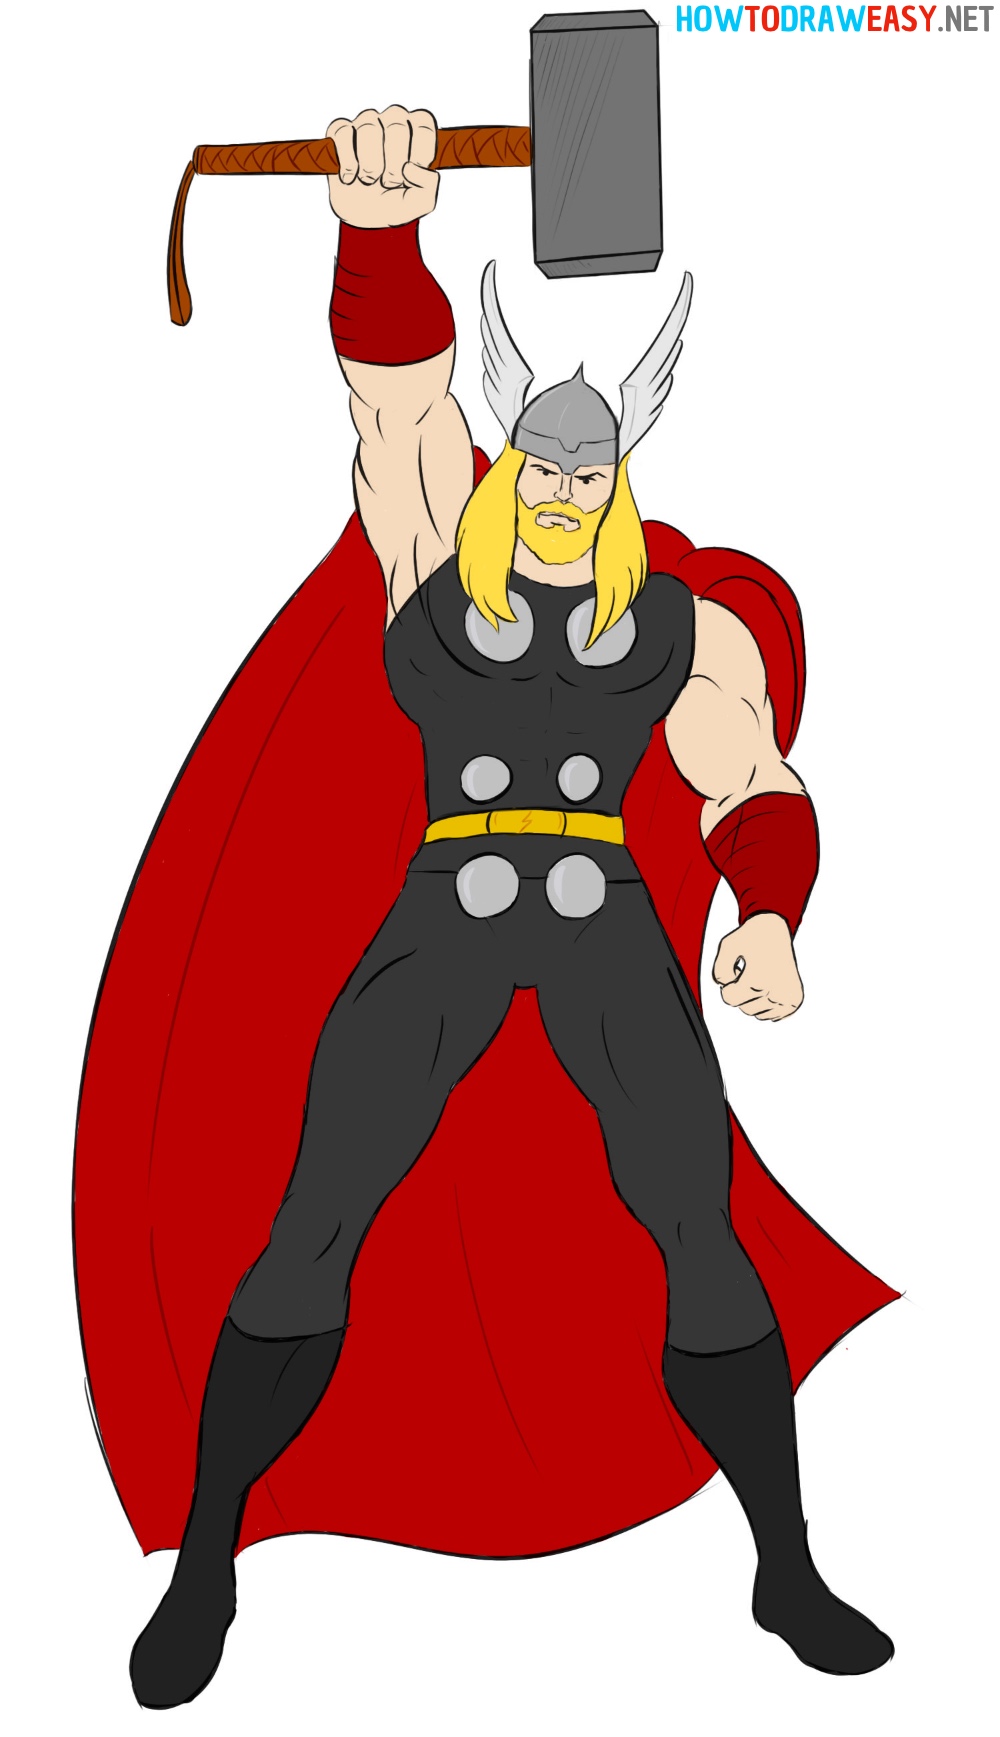
We hope that you were able to draw this magnificent superhero from the Marvel Universe, but if you did not succeed in sketching the character the first time, then try again! Improve your sketching skills with practice every day, and we will try to help you with our step-by-step instructions. Don't forget to share your artwork and this guide with your friends!
How To Draw Thor Step By Step
Source: https://howtodraweasy.net/how-to-draw-thor/
Posted by: mcgrathextured.blogspot.com

0 Response to "How To Draw Thor Step By Step"
Post a Comment